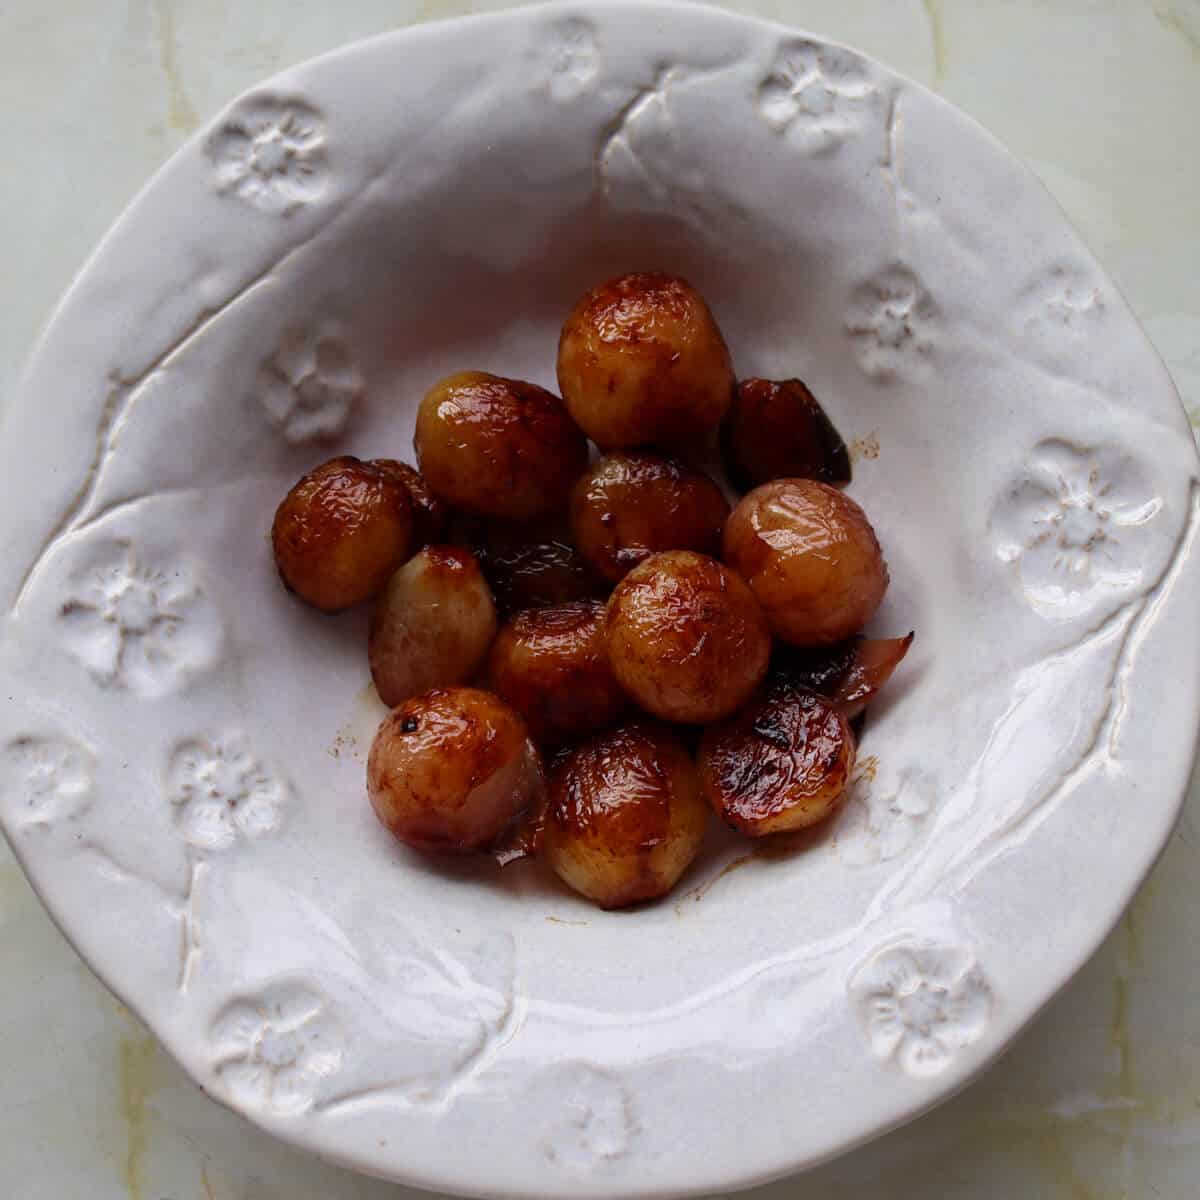
Balsamic Caramelized Shallots- Sticky, sweet, juicy, and tender - these caramelized balsamic shallots are easy to make and work perfectly as a side dish.
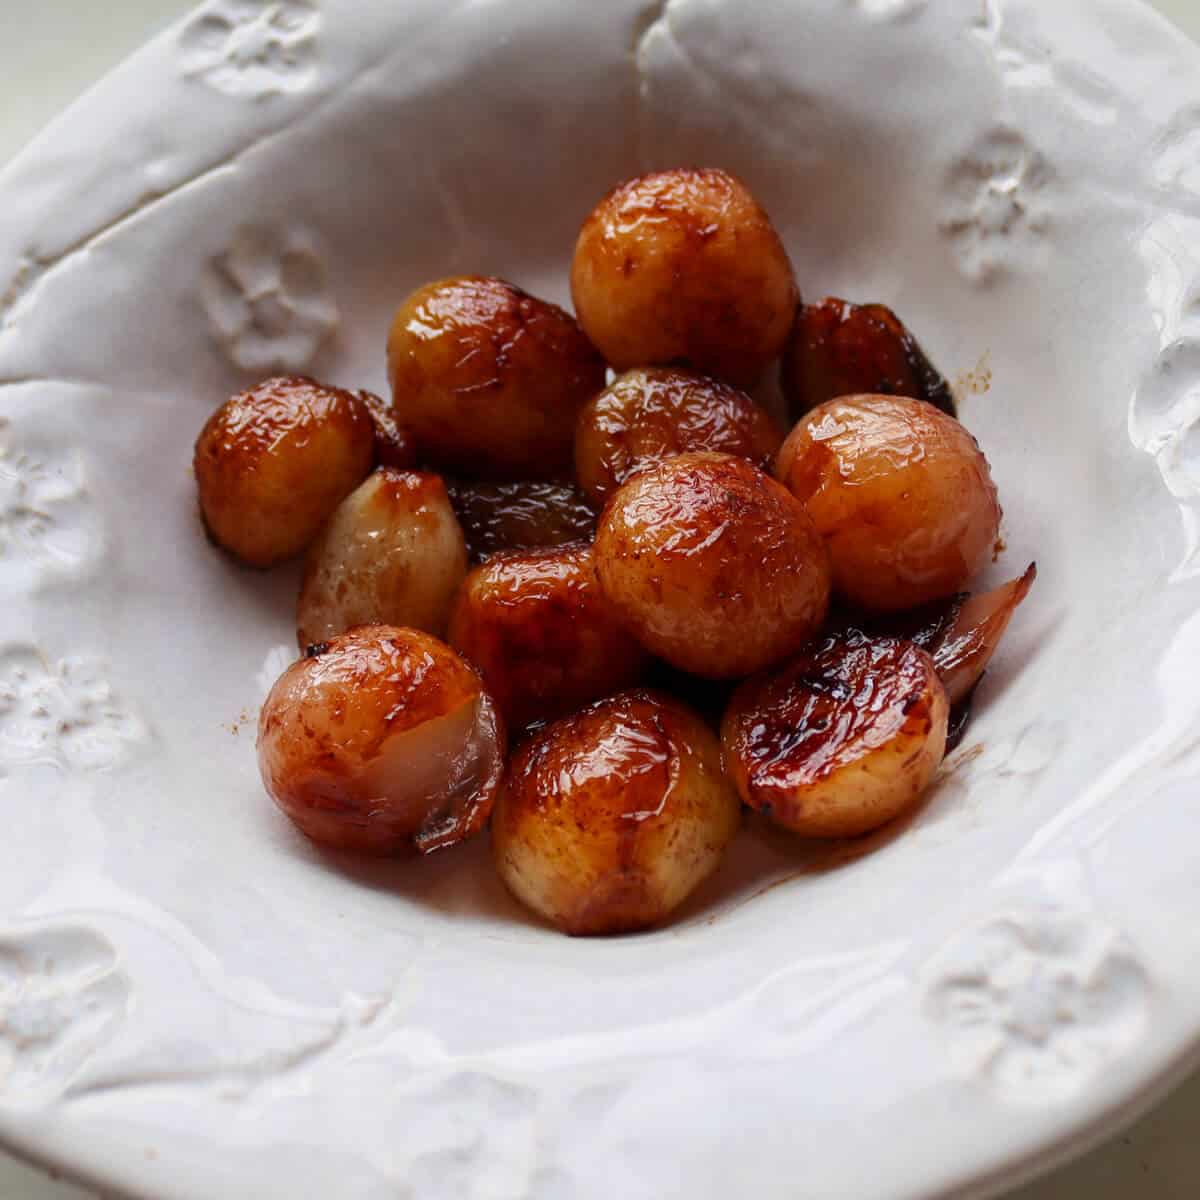
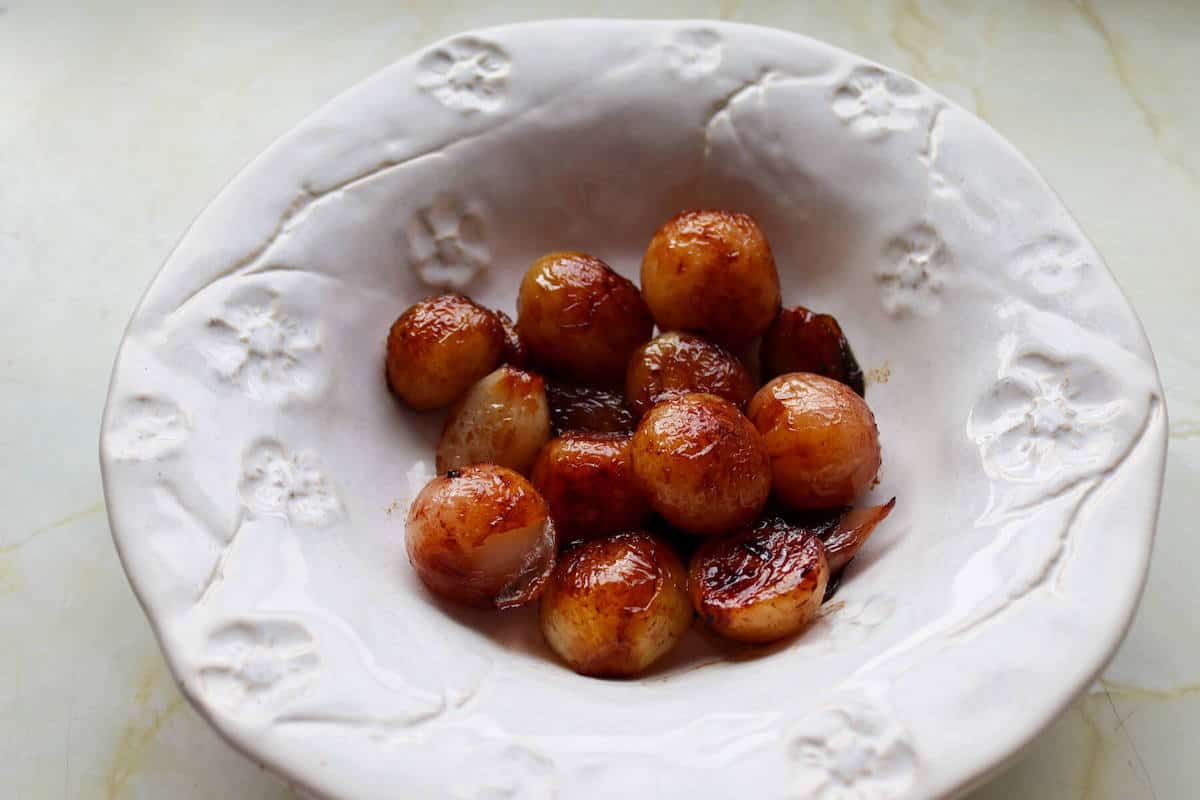
The sticky balsamic glaze in this caramelized shallots recipe is full of umami flavor, and the sweetness of the shallots really comes through against the tang of the balsamic vinegar. We caramelize the shallots in butter and monitor the heat to achieve a perfectly cooked shallot that is caramelized evenly on the outside and soft and tender on the inside.
Jump to:
There's no added sugar due to the natural sugar in shallots that caramelizes with the bubbling butter, and my main tip for this recipe is not to make it when you're hungry as the smell of shallots caramelizing in butter is one that will make you climb the walls if you're even slightly peckish.
What you will love about these Caramelized Shallots:
- Quick and easy: one pan stovetop recipe that's ready in 20 minutes with only 3 simple ingredients, which are easy to get in your local grocery store if you don't have them already.
- Versatility: Caramelized shallots can be used in various ways. Serve them as a topping for caramelized shallot pasta, spread them on toasted bread, or incorporate them into pasta dishes, sauces, or side dishes. The possibilities are endless.
- Flavorful: These sauteed shallots are irresistibly tender, with a hint of natural sweetness and a touch of caramelization that adds a depth of flavor. It's the perfect balance between sweet and savory.
Ingredients
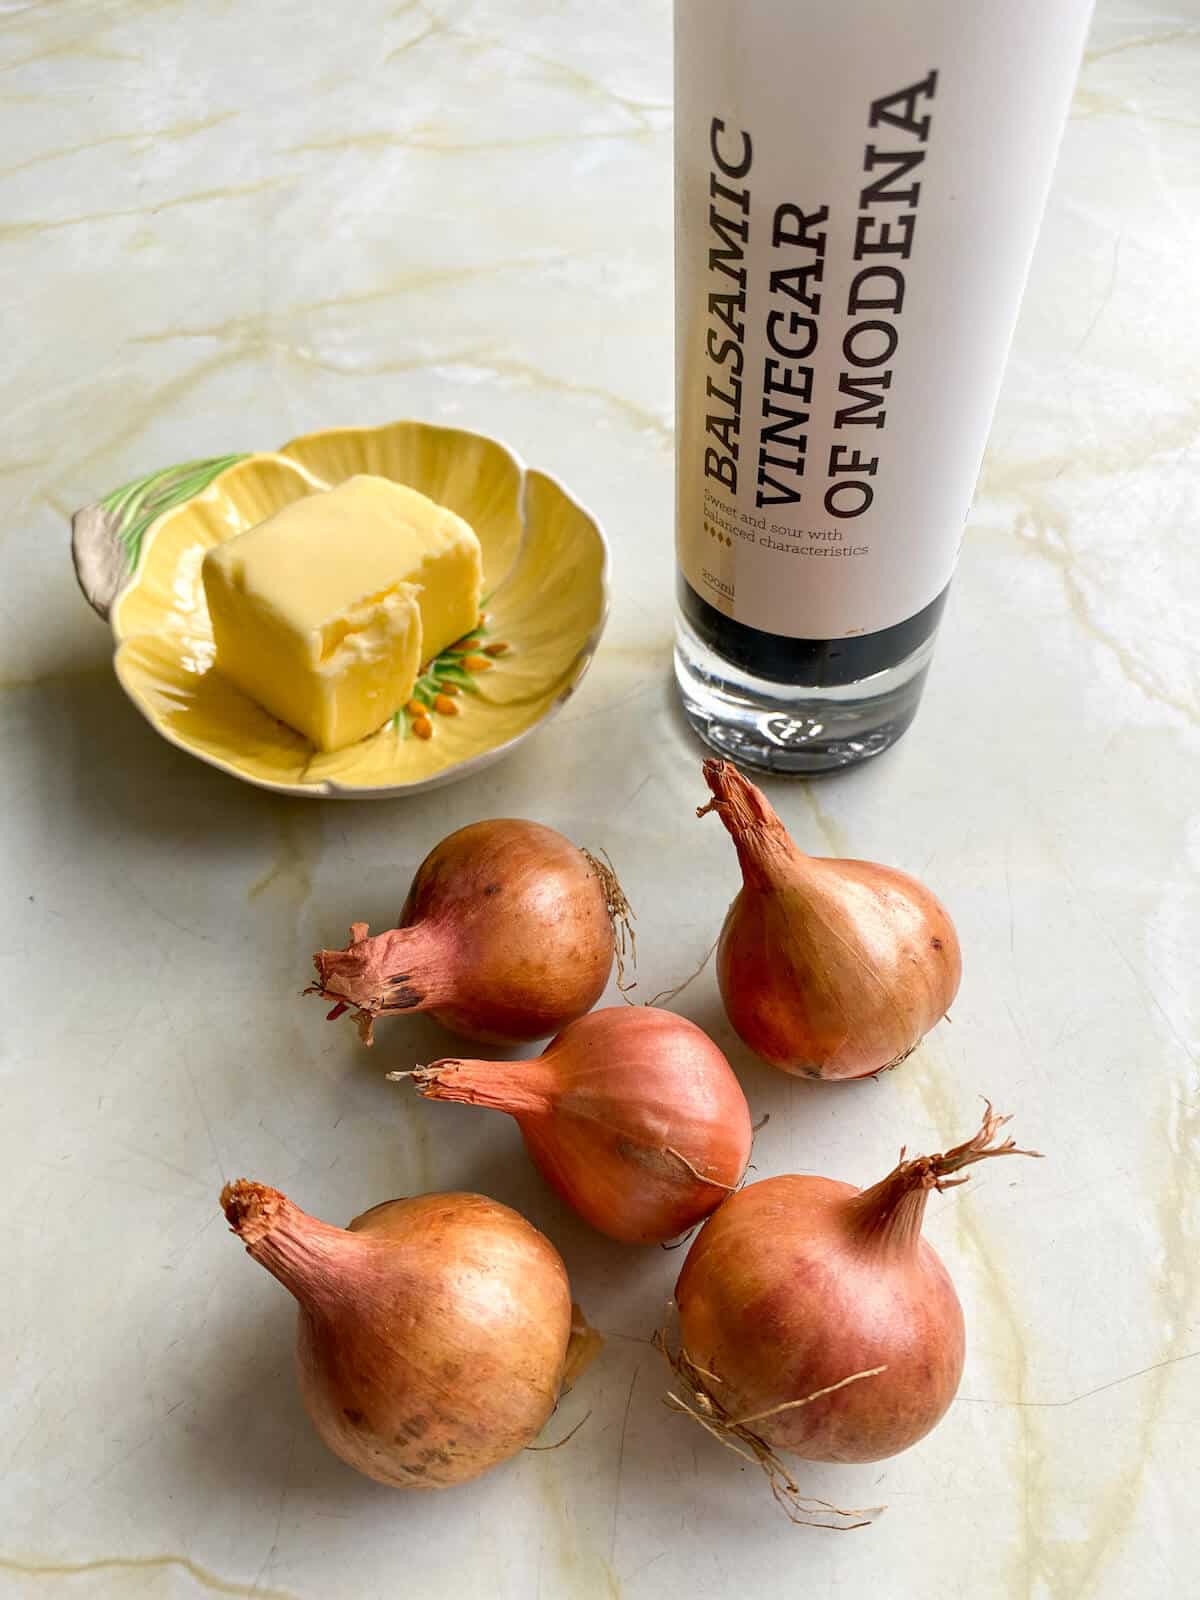
- Shallots: Choose fresh shallots that are easy for handling and slicing; the ideal size of the shallots is medium-sized. You can use banana shallots (echalion) or smaller round ones; it is up to you, although the larger the shallot, the longer they will take to cook, and the smaller shallots are sweeter.
- Butter: I always use unsalted butter because it gives me full control of saltiness in whatever I am cooking. I use butter instead of olive oil because it enhances the richness and depth of flavor in these caramelized shallots.
- Balsamic vinegar: The balsamic vinegar brings a tangy sweetness that perfectly complements the caramelized shallots. Use good-quality balsamic vinegar to ensure the best flavor.
- Salt and freshly ground black pepper
See the recipe card at the bottom of this post for full quantities and step-by-step directions.
How to make Caramelized Shallots
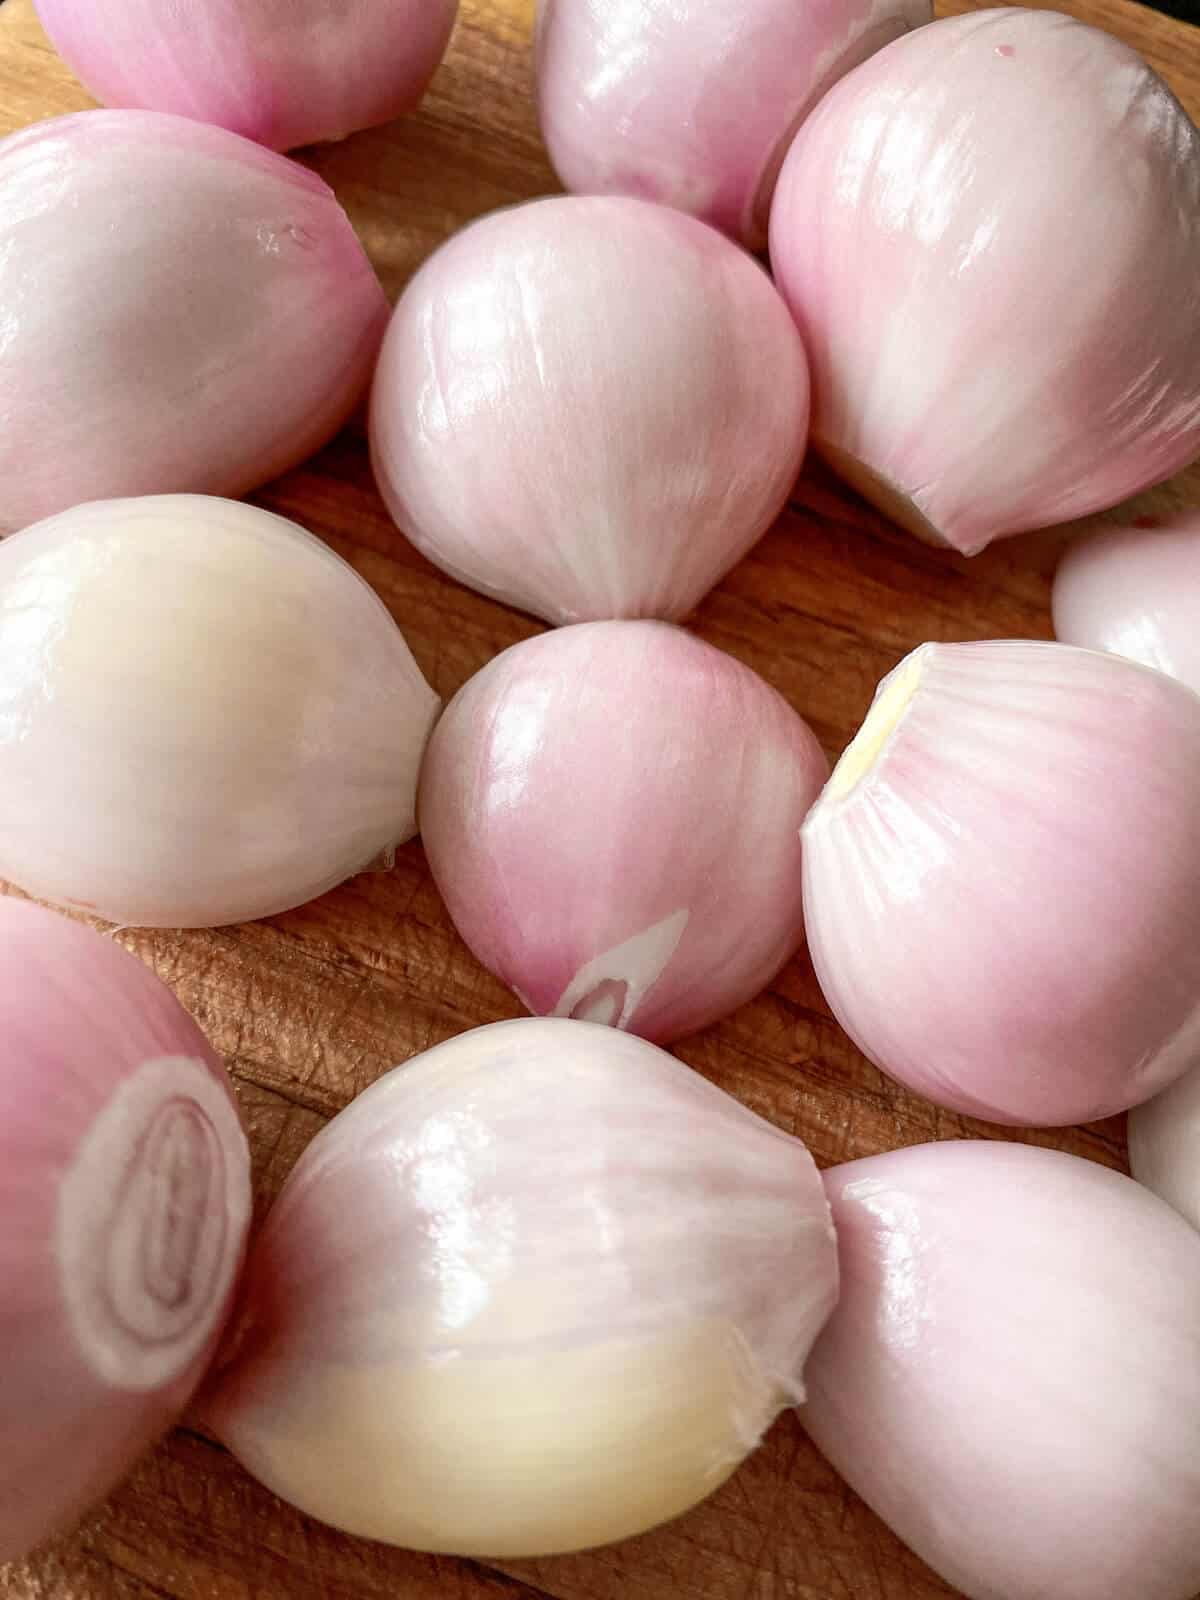
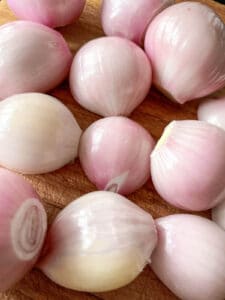
- Carefully peel and then top and tail your shallots with a sharp knife to remove the root and the shoot.
- Remove all the papery layers and ensure they are approximately all the same size, so if any are particularly large, remove an extra layer to bring them in line with the others.
- We want them to stay together in one piece, so be sure that you don't slice too high above the root or they will fall apart.
- Melt butter in a high sided frying pan or sauté pan on medium heat and wait until it stops crackling before adding the shallots.
- Sprinkle over some salt to help them release their water and cook faster.
- Stir occasionally to ensure even browning on all sides.
- After around 10 minutes, test if the shallots are cooked by poking them with a sharp knife to see how tender they are. If it goes in easily, they are ready.
- Pour the balsamic vinegar onto the caramelized shallots - it will bubble ferociously, and you will get a strong smell of vinegar.
- Quickly swill the caramelized balsamic shallots around the pan for a few more seconds, add a twist of cracked black pepper, and then turn off the heat.
- Remove the balsamic shallots into a warmed dish using a slotted spoon and serve immediately.
Chef's Notes
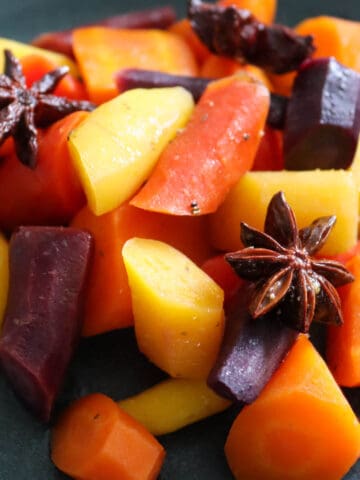
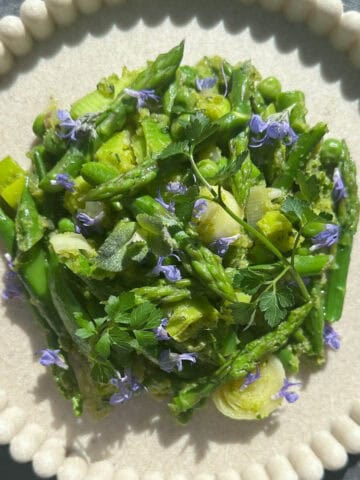
These sticky caramelized balsamic shallots make a great side dish for roast dinner like lamb rump, alongside side dishes like maple roasted carrots and maybe a sophisticated truffle asparagus broccoli puree.
I also eat them by themselves; there's no shame in admitting that.
I usually allow four caramelized balsamic shallots per person as a side dish, they are incredibly moreish!
Serving suggestions
- Caramelized Shallots as a Topping: Sprinkle caramelized shallots generously over dishes like pasta, risotto, or pizza for an extra burst of flavor and texture. They add a delightful sweetness and depth to the overall dish.
- Shallot Toast: Spread a layer of caramelized shallots onto toasted bread slices, drizzle with a touch of olive oil, and sprinkle with fresh parsley or herbs of your choice. Enjoy it as a delicious appetizer or a satisfying snack.
- Pasta Dishes: Incorporate caramelized shallots into various pasta recipes. Toss them with cooked pasta, olive oil, and a sprinkle of black pepper for a simple and comforting dish. Add some fresh herbs or grated cheese for extra flavor.
- Roasted Vegetables: Roast a medley of vegetables, such as sweet potatoes, alongside caramelized shallots for a savory and wholesome side dish.
- Sandwiches and Burgers: Layer caramelized shallots onto sandwiches or burgers to elevate their taste. They add a sweet and savory component that pairs well with a variety of ingredients like cheese, grilled vegetables, or cooked meats.
Substitutions and variations
Here are a few ways you can change up this caramelized balsamic shallots recipe to suit you.
- Kinds of vinegar - instead of balsamic, try sherry vinegar.
- Herbs - try adding some herbs or even rosemary salt to add even more flavor.
- Vegan - use dairy-free butter or neutral cooking oil instead of butter.
Equipment
I like to use a saucepan or deep-sided frying pan that has good and even heat distribution. Anything too flimsy will burn the butter. Enameled cast iron is good, Dutch oven or a really decent metal saucepan like All Clad that might be expensive but will last forever and can be used on both gas and induction.
I use Robert Welch Knives - it's what I trained with at chef school, and they are brilliant.
Storage
How long do shallots last in the fridge?
Store leftovers in the fridge for 3-5 days in an airtight container then reheat in the oven for 10 minutes when needed.
These ingredients don't stand up well to freezing.
Top tip
Turn the heat up and down (between low heat and medium-high heat) to moderate how browned the shallots get and how quickly. What we don't want is for them to be burnt on the outside and still raw and crispy on the inside! A slow and steady caramelization is ideal.
FAQ
Yes, shallots can be eaten raw. They have a milder and sweeter flavor compared to onions, so I sometimes use shallots when I'm making salads or gazpacho. Their delicate taste and slight hint of garlic add a unique and pleasant touch to raw preparations.
As a Chef, I often prefer using shallots instead of onions for their culinary creations. Shallots offer a more subtle and nuanced flavor compared to onions. I found that they blend harmoniously with other ingredients without overpowering them, making them ideal for delicate dishes or when a balanced onion flavor is desired.
Shallots and onions are both members of the allium family but have distinct characteristics. Shallots are smaller in size, with a slightly elongated shape and multiple cloves within a single bulb. They have a sweeter taste with a hint of garlic. On the other hand, onions come in various sizes, shapes, and colors, and they possess a stronger and more pungent flavor. Shallots are often favored for their subtlety and ability to provide a more delicate onion flavor to dishes.
More Easy Side Dish recipes
📖 Recipe
Caramelised Balsamic Shallots
Equipment
- 1 knife
- 1 Saucepan
Ingredients
- 500 grams (1.1 lb) shallots
- 50 grams (1.76 oz) butter
- 1 tablespoon balsamic vinegar
- Salt and pepper
Instructions
- Carefully peel and then top and tail your shallots with a sharp knife to remove the root and the shoot.
- Remove all the papery layers and ensure they are approximately the same size, so if any are particularly large, remove an extra layer to bring them in line with the others.
- We want them to stay together in one piece, so be sure that you don't slice too high above the root or they will fall apart.
- Heat the butter in a high sided frying pan or saucepan on medium heat and wait until it stops crackling before adding the shallots.
- Sprinkle over some salt to help them release their water and cook faster.
- Stir occasionally to ensure even browning on all sides.
- After around 10 minutes, test if the shallots are cooked by poking with a sharp knife to see how tender they are. If it goes in easily, they are ready.
- Pour the balsamic vinegar onto the caramelised shallots - it will bubble ferociously, and you will get a strong smell of vinegar.
- Quickly swill the caramelised balsamic shallots around the pan for a few more seconds, add a twist of cracked black pepper and then turn off the heat.
- Remove the balsamic shallots into a warmed dish using a slotted spoon and serve immediately.

Carolyn says
These were delicious. I never thought of adding balsamic vinegar before! I could have eaten a whole bowl of them!
Toby says
Definitely going to try these out - look delicious - wondering if they would make a nice canapé for a dinner party?
Rosanna Stevens says
Yes, you could definitely serve these with cocktail sticks as a canape! Perhaps with a piece of goat cheese on there too...
Charly says
We all loved these with our Sunday roast this weekend. Thanks Rosie!