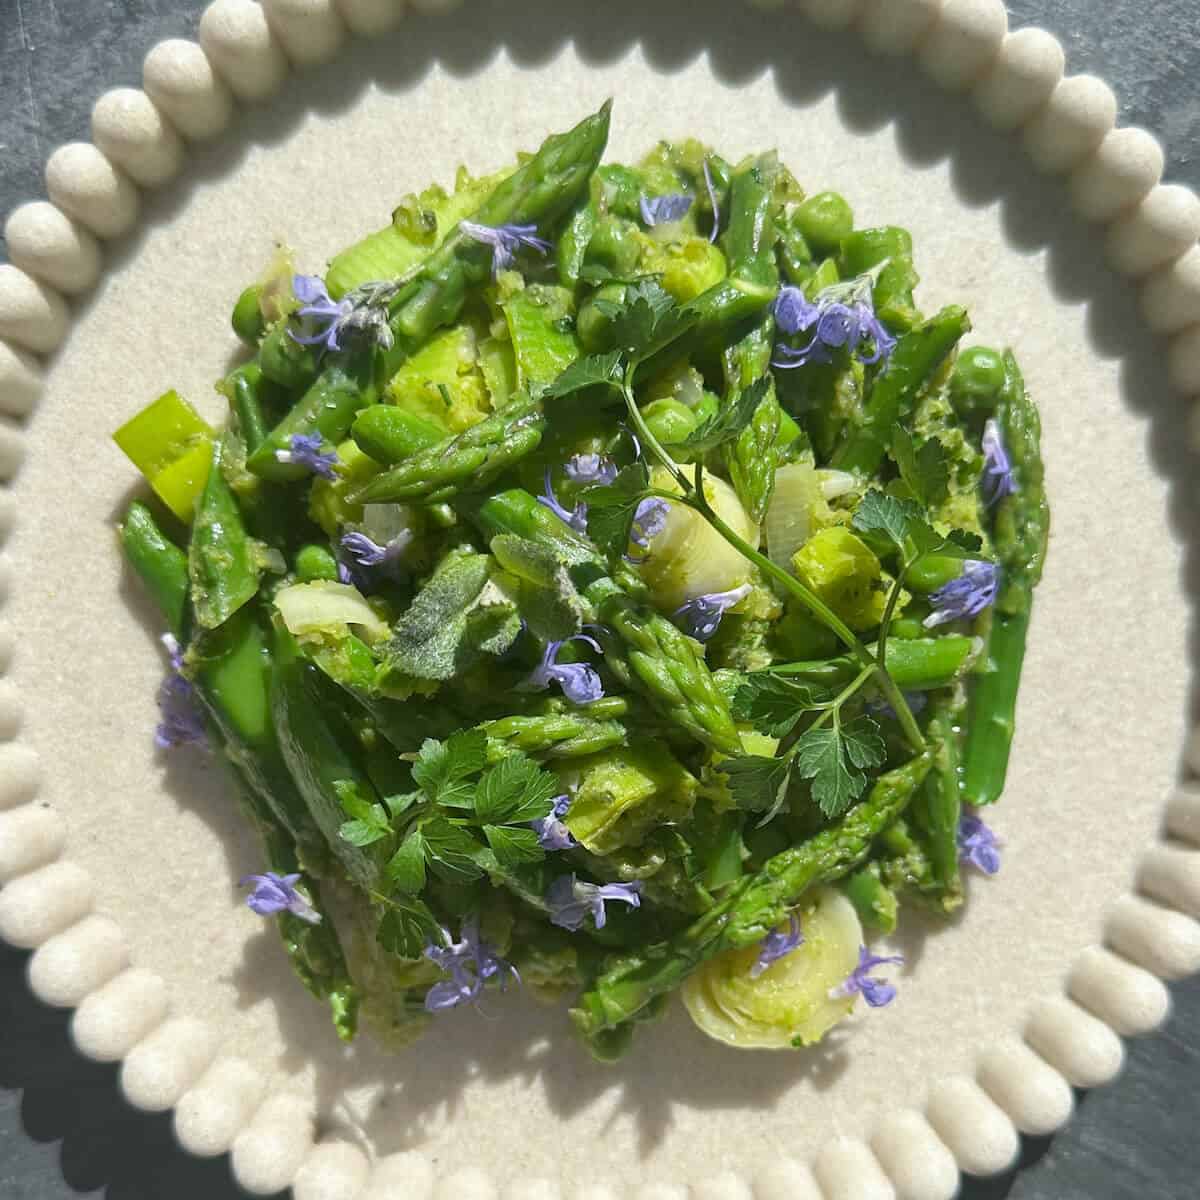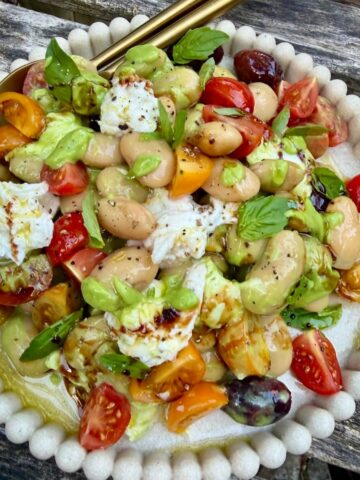
Say hello to summer with a delicious butterbean caprese salad with basil avocado vinaigrette. I am eating this on repeat right now and it is a firm favorite amongst my clients, too. As a private chef, I am all about fresh seasonal produce and this twist on a caprese salad with butterbeans or lima beans that make it more substantial as a lunch option.
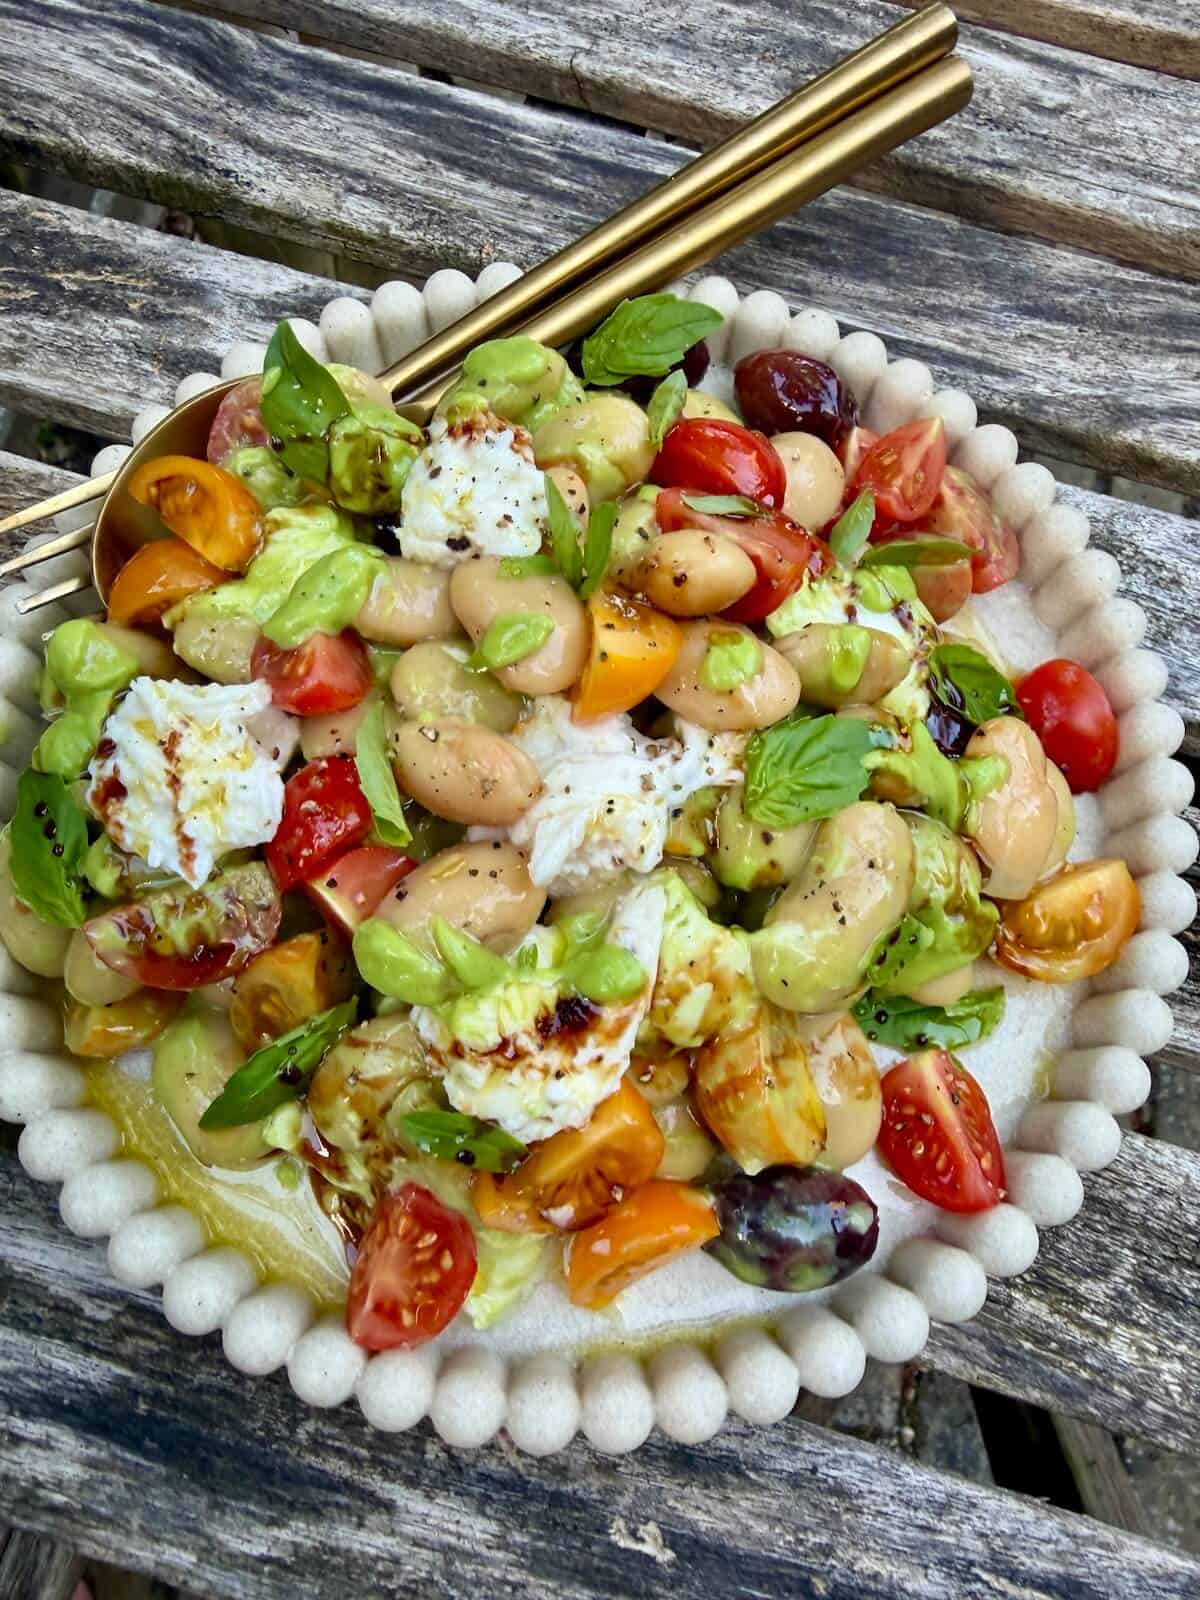
There are still the classic pillars of tomato, mozarella and basil, but we add beans for fibre and flavor, and blend avocado into the dressing to make it creamy and filling.
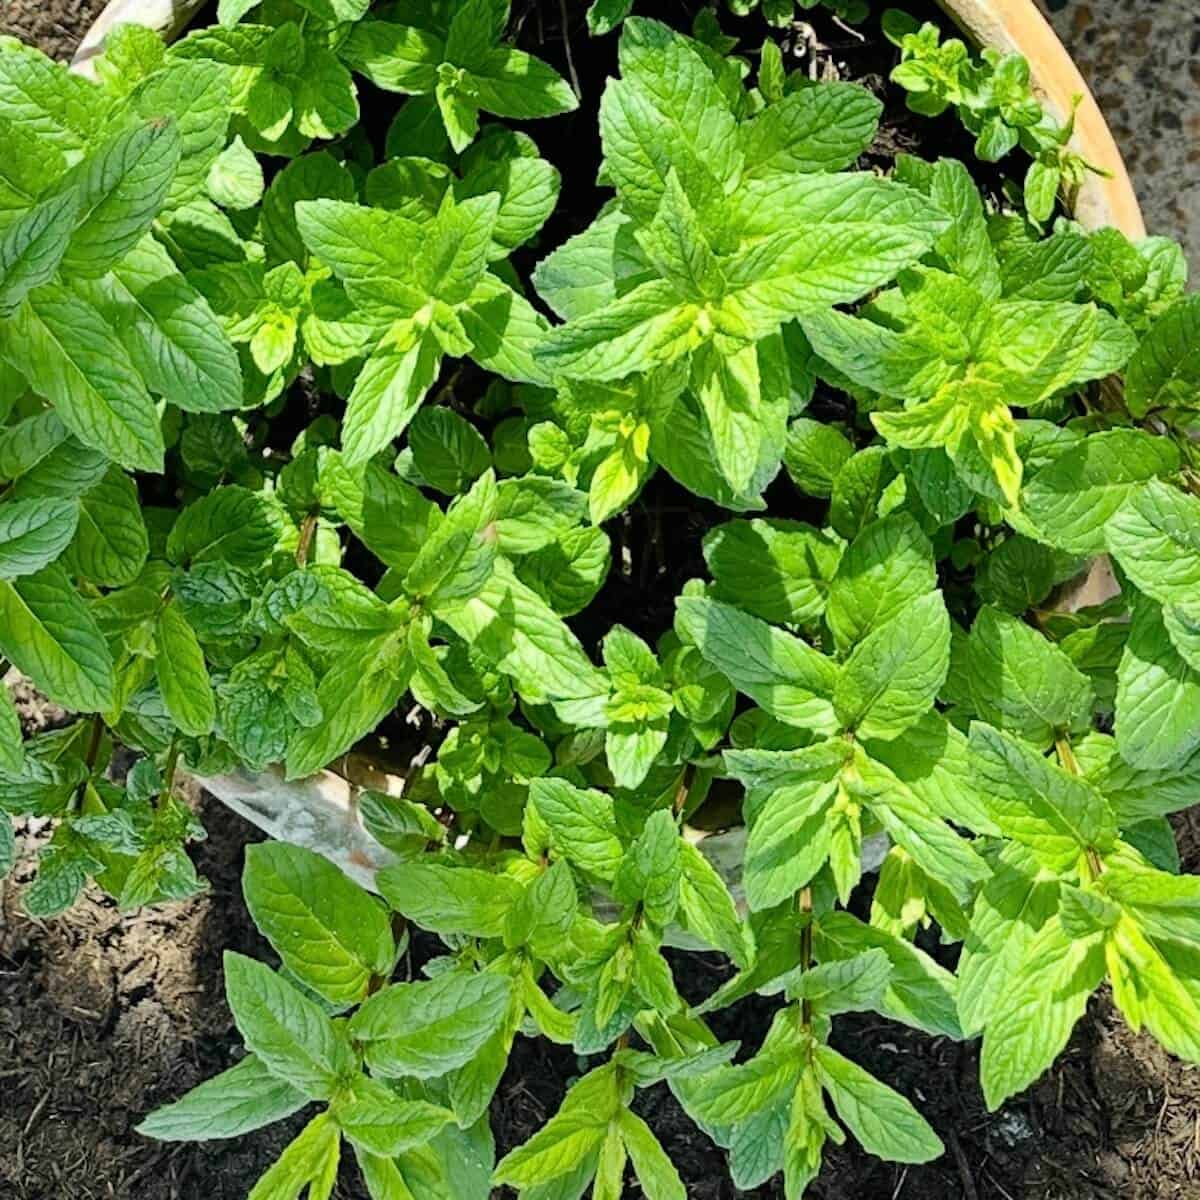
Tips on the best fresh basil
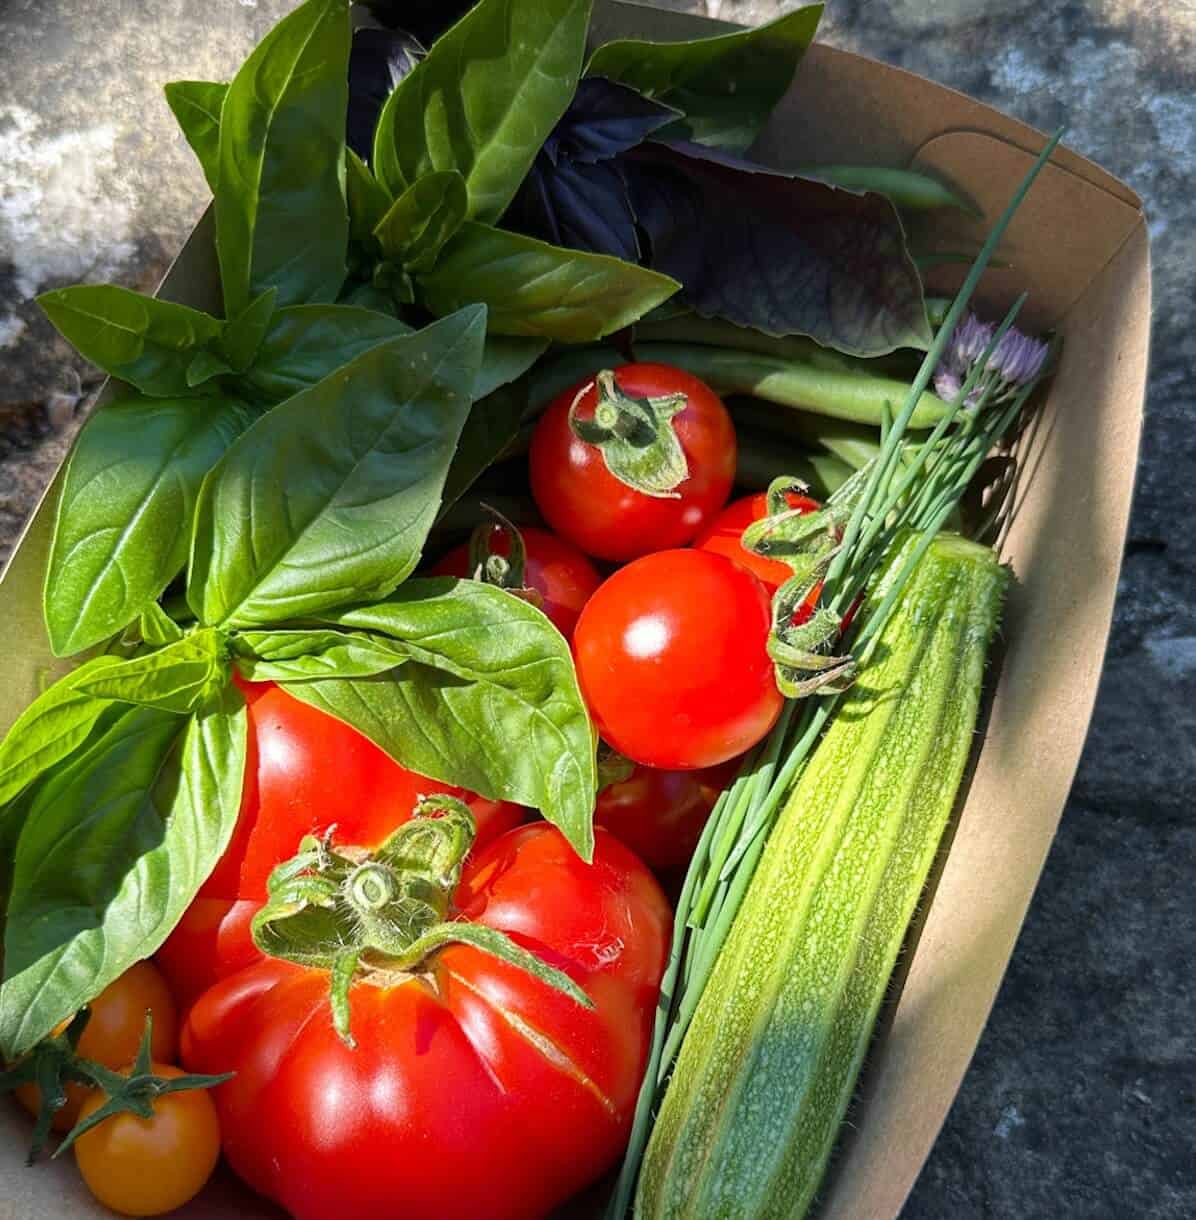
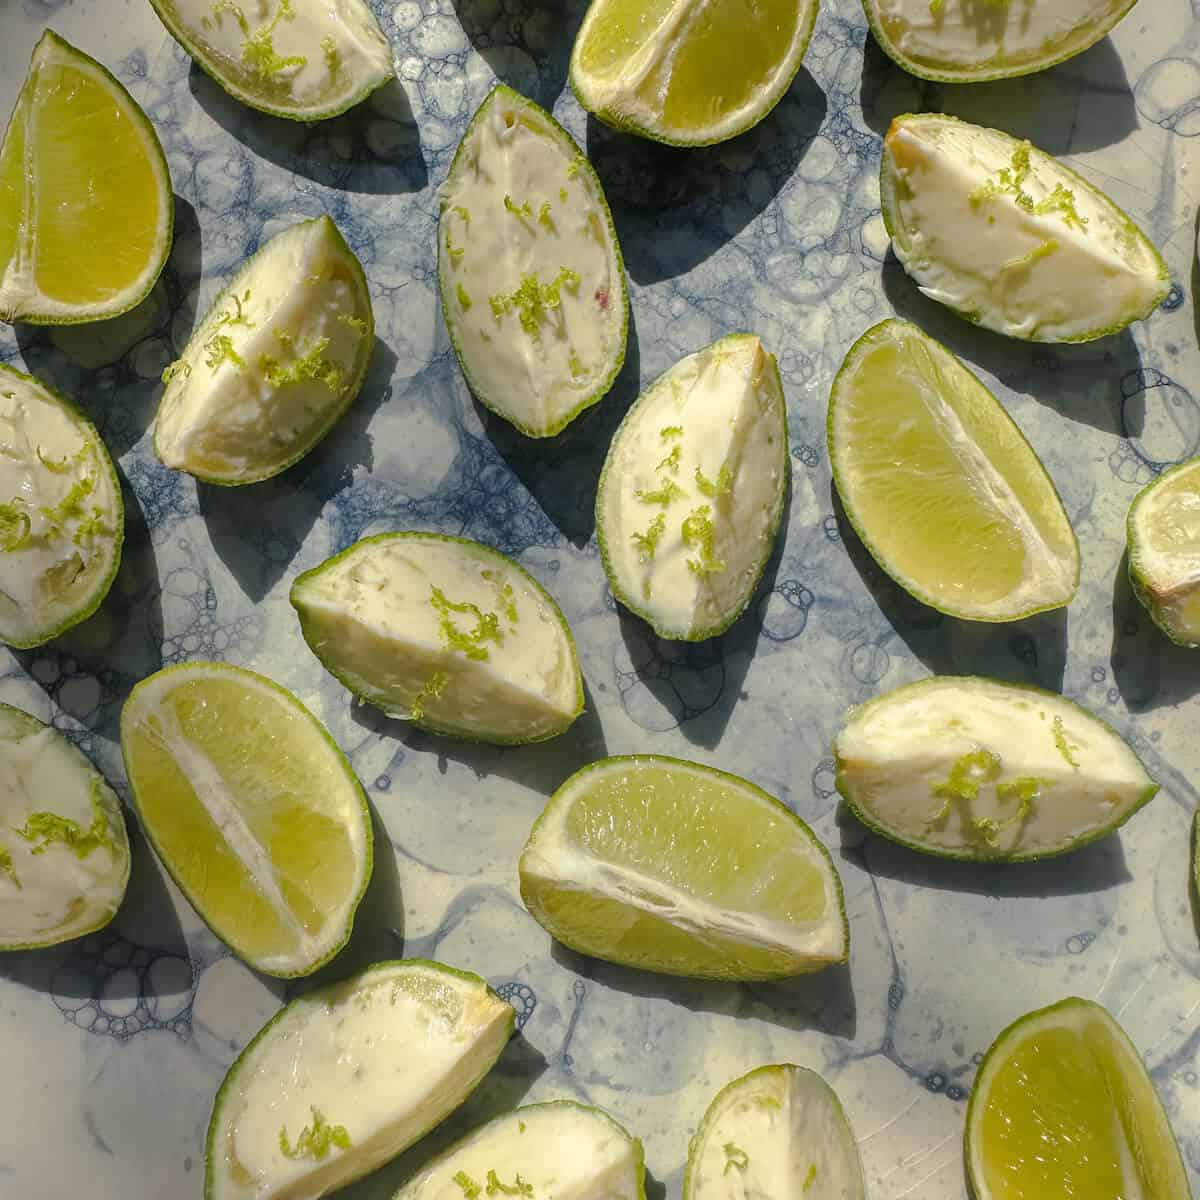
There is nothing but fresh summer flavor in this salad, but the basil really sings. If you can, try and get hold of proper Genovese basil that has the spoon shaped leaves rather than pointy ones. Sadly, I failed in that task when shooting images for this post but if I find any soon I will take a pic and add it in! You'll notice that store-bought fresh basil often has ridges on the edges of the leaves, this is a hybrid variety of basil more common in countries like the UK due to our cooler climate. But for that true Italian taste, Genovese sweet basil is the gold standard and what is used in traditional pesto recipes, too.

There's a printable recipe card at the bottom of this post with quantities and step-by-step directions for how to make caprese salad with butterbeans and creamy avocado basil dressing.
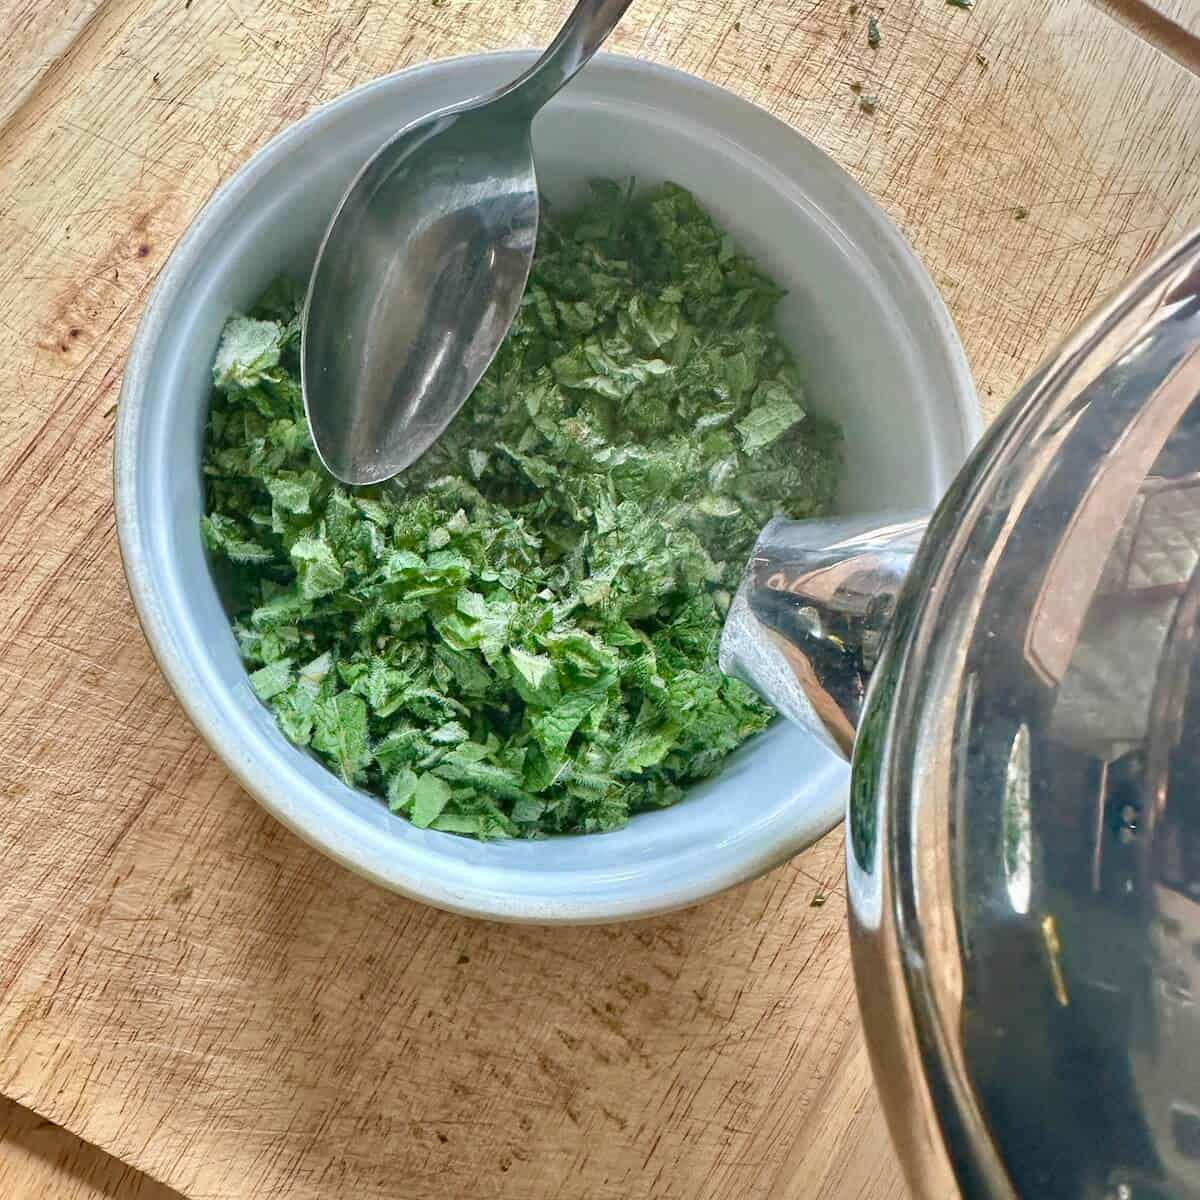
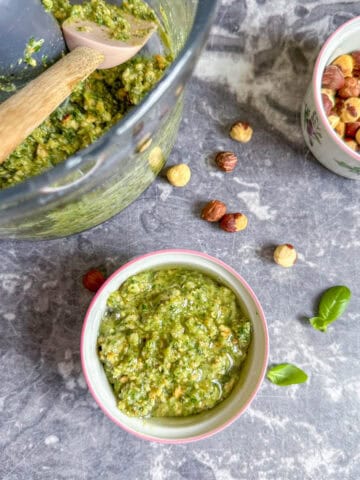
Start with the basil avocado dressing
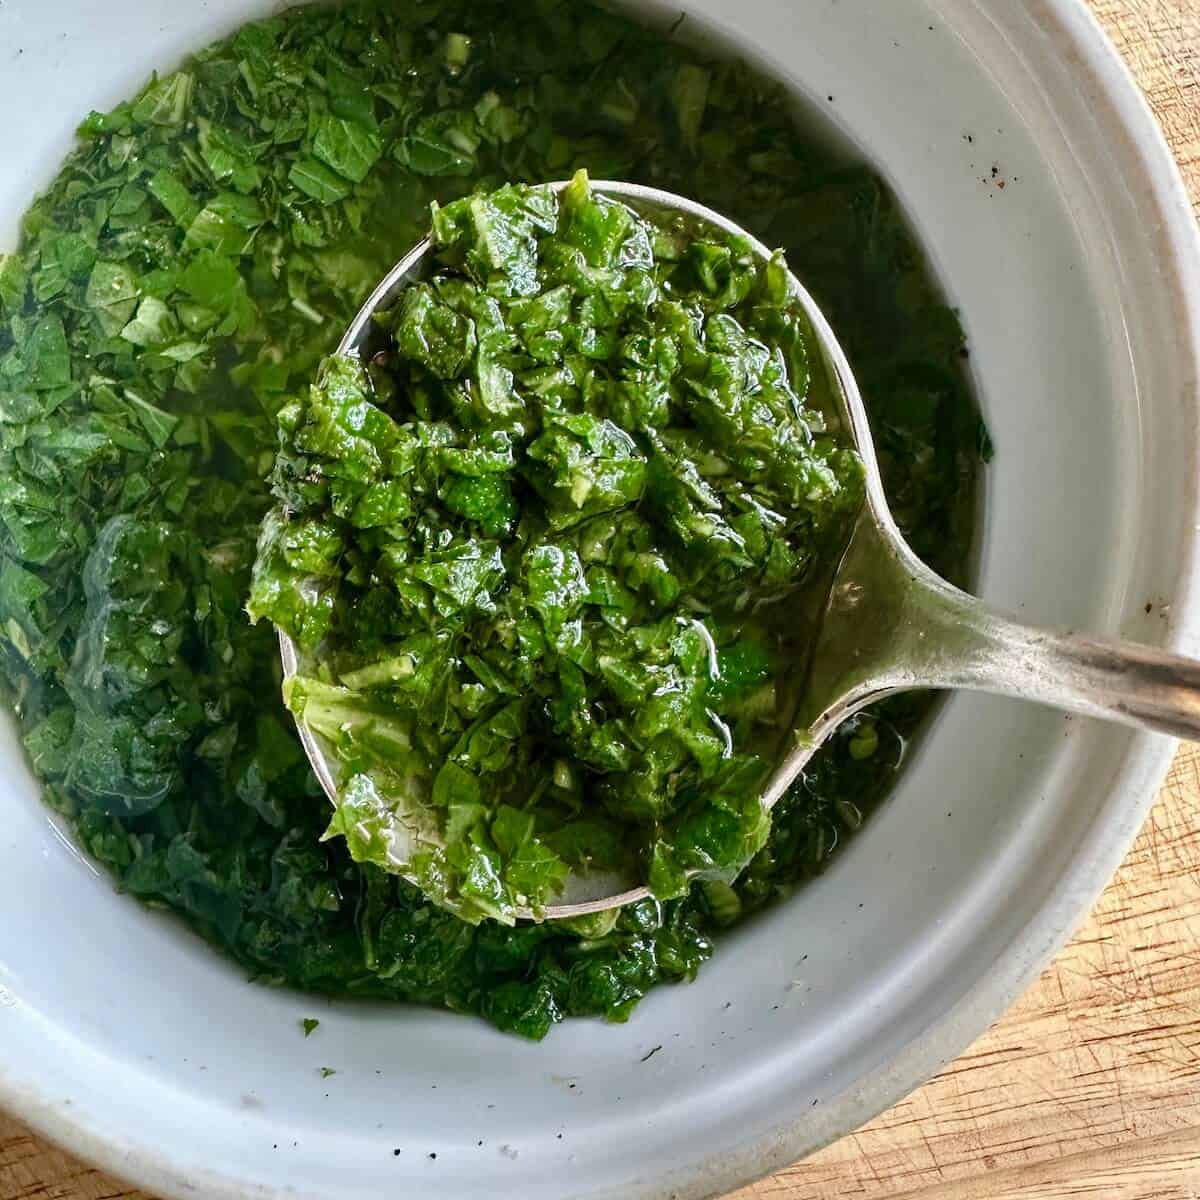
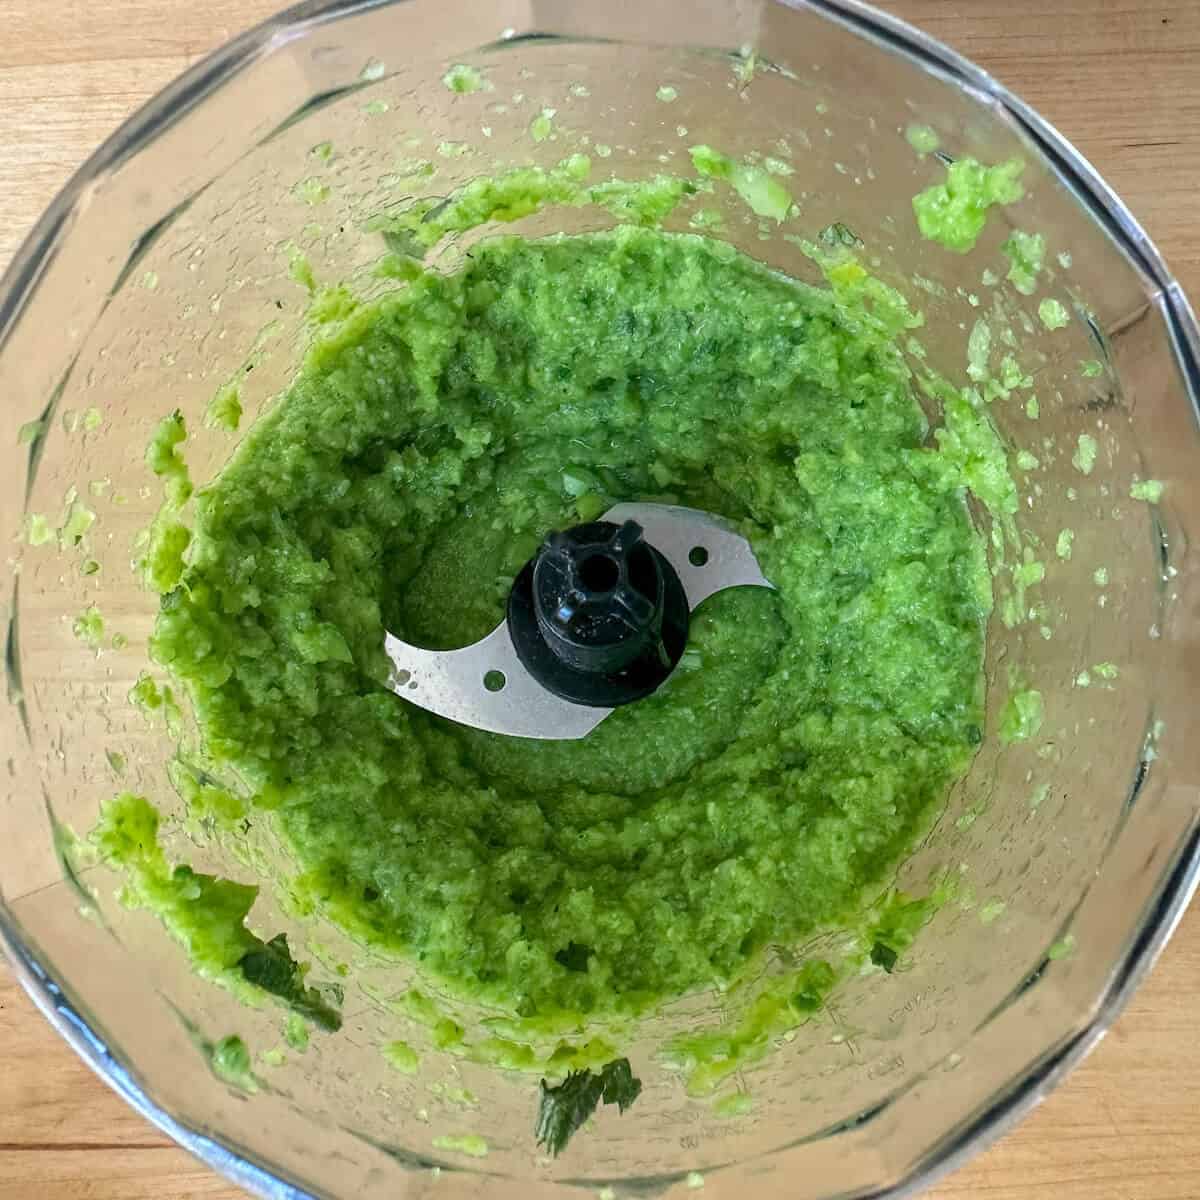
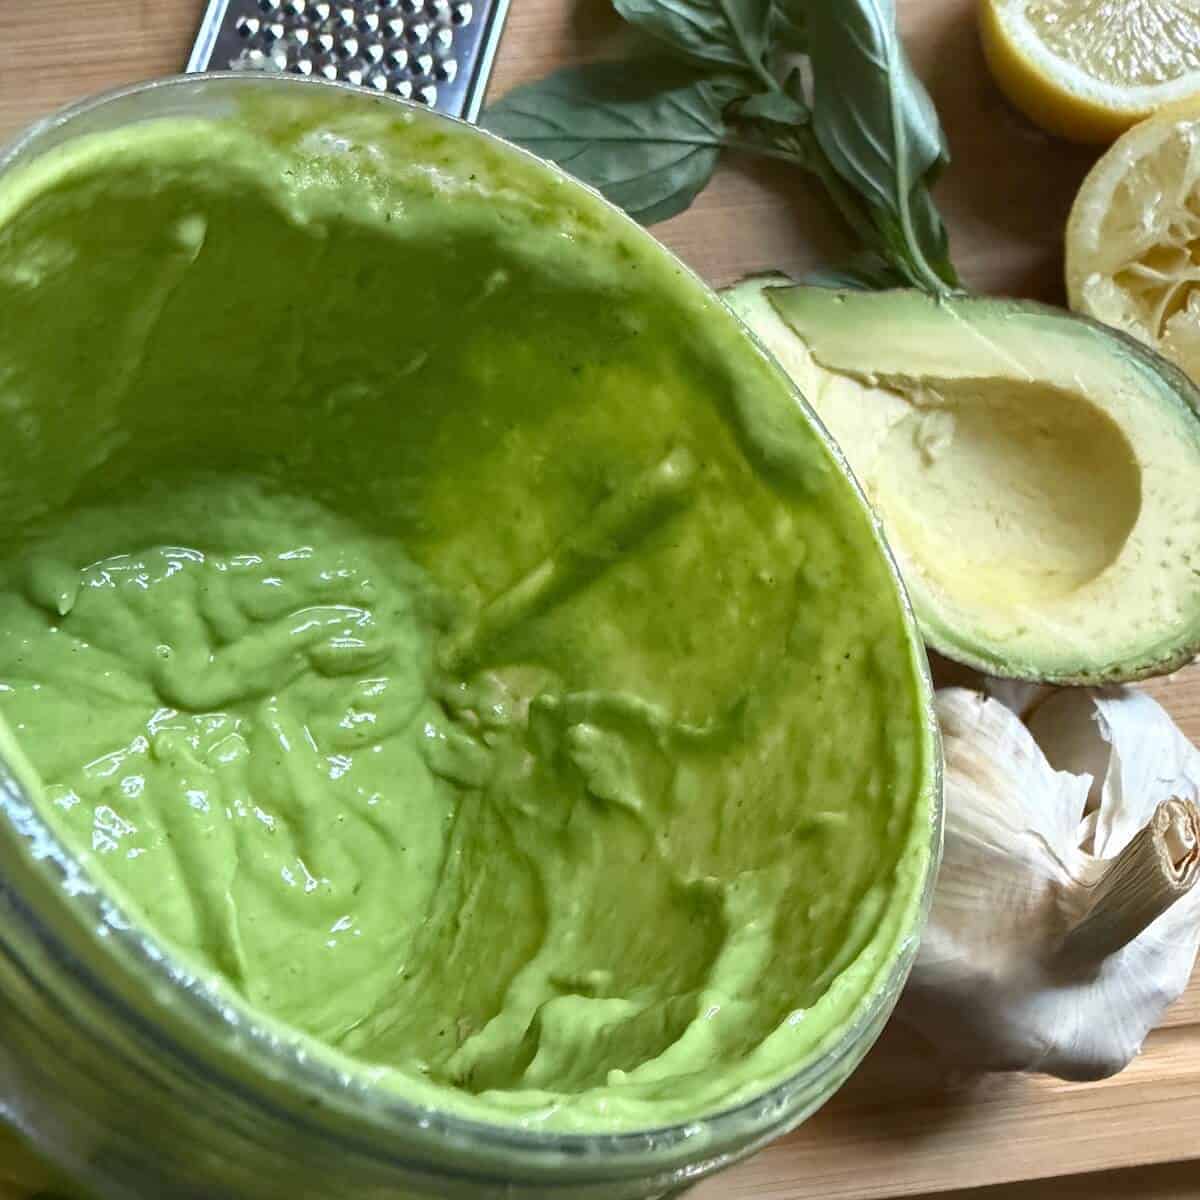
The basil avocado dressing comes together so easily, all you need is a good blender or a Nutribullet.
Discard any basil leaves that are black or wilted, and remove the stems. You can use white wine vinegar or apple cider vinegar, but I would avoid red wine vinegar or balsamic as it can discolour the dressing.
Add the avocado, basil leaves, garlic, lemon zest and juice, salt and pepper to the blender. Pour over the olive oil, vinegar and add the water. Blend until smooth and then adjust the consistency further and season with flaky salt and cracked black pepper.
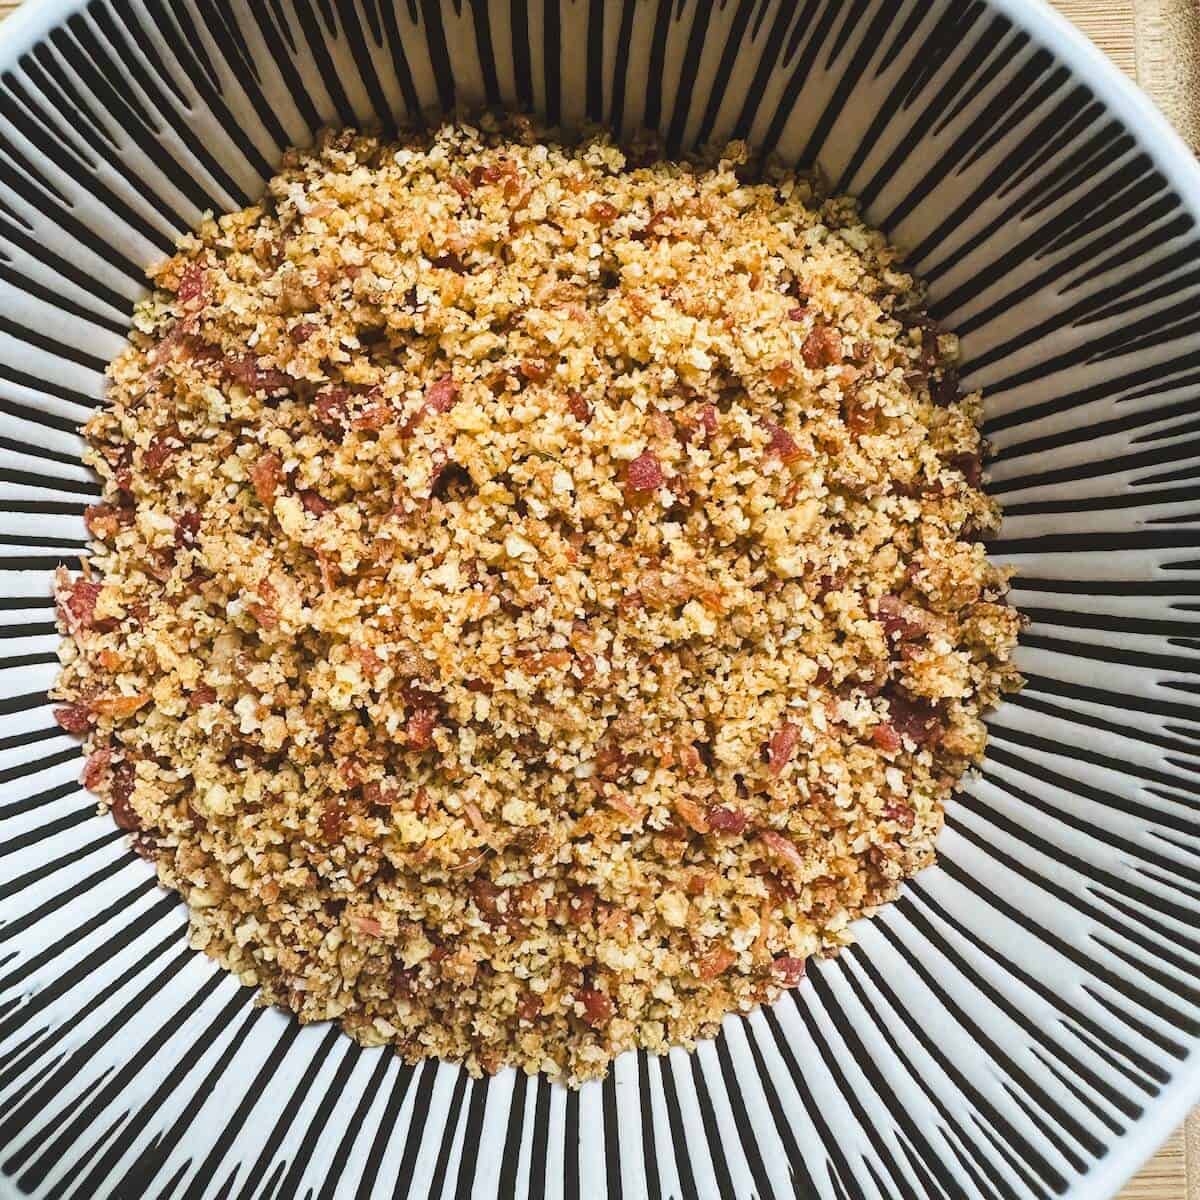
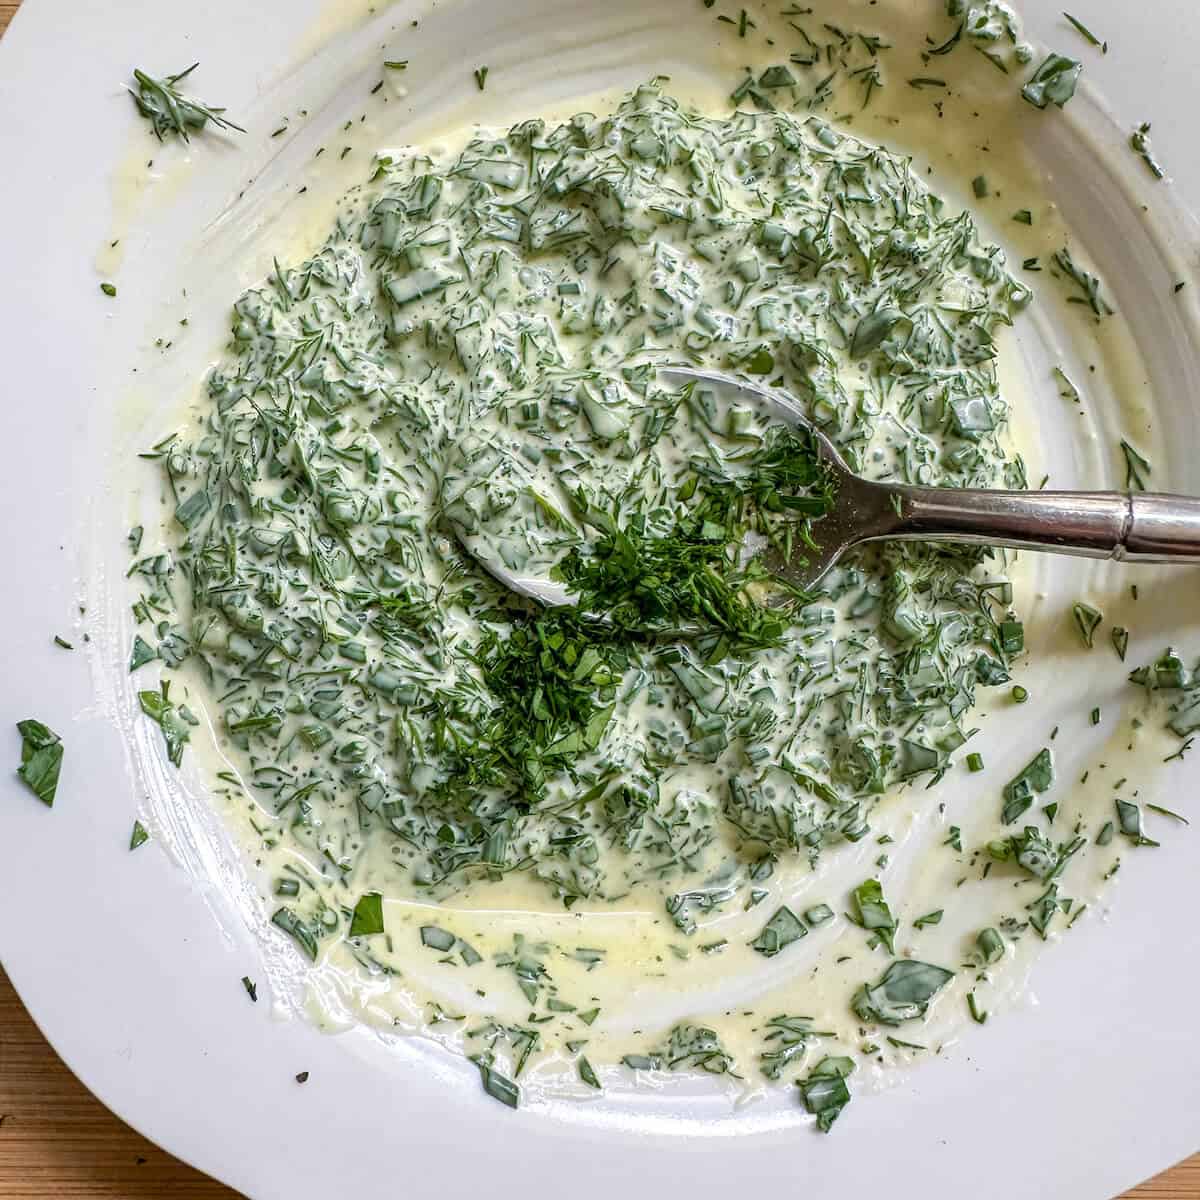
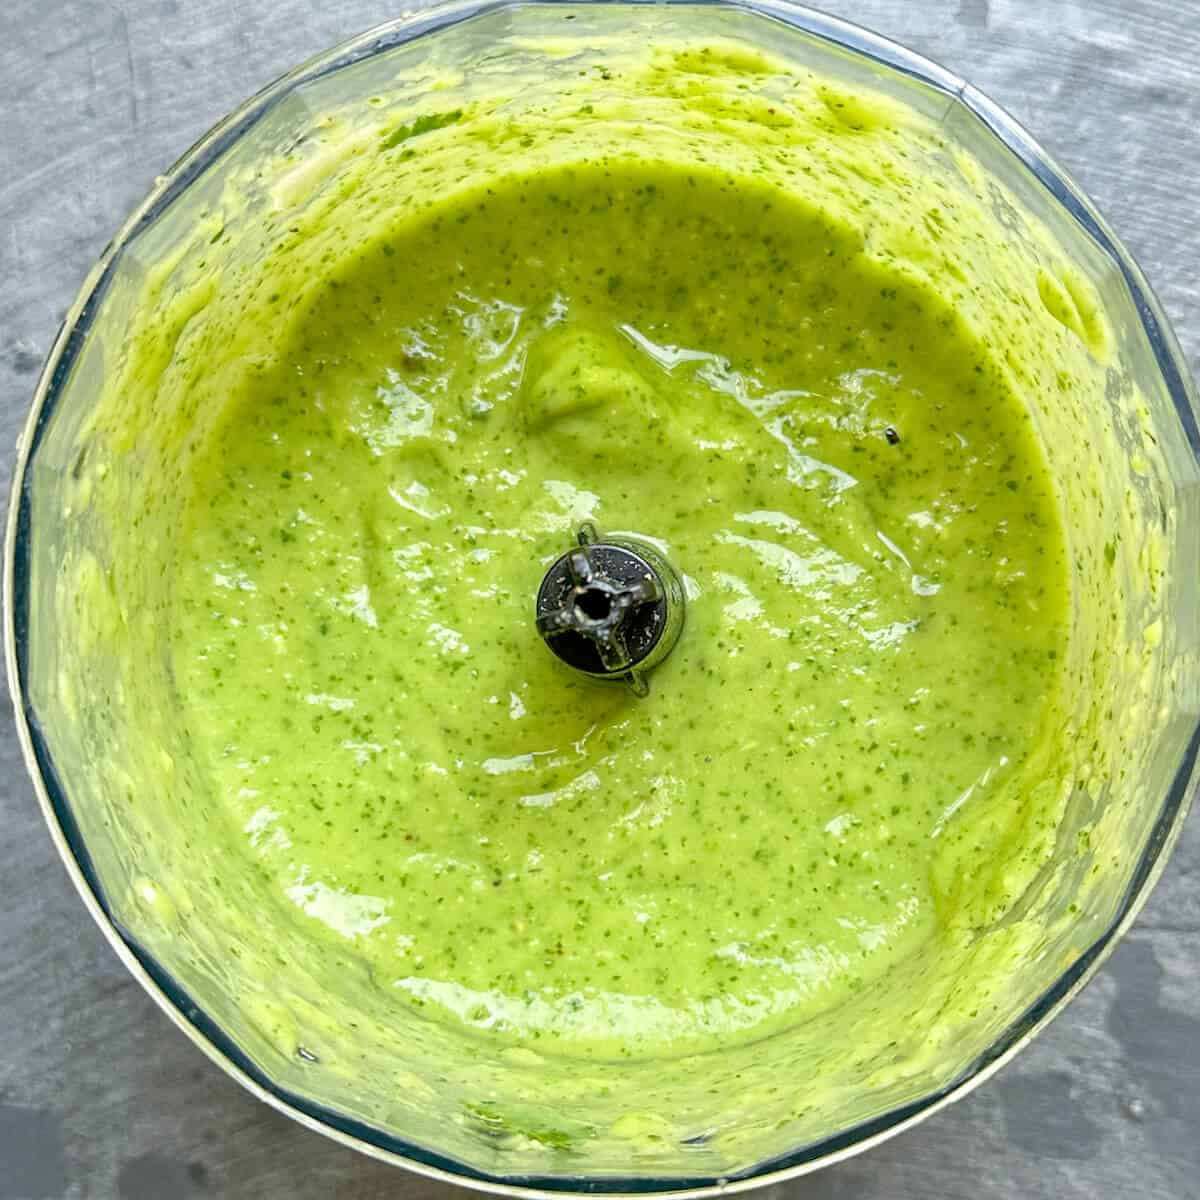
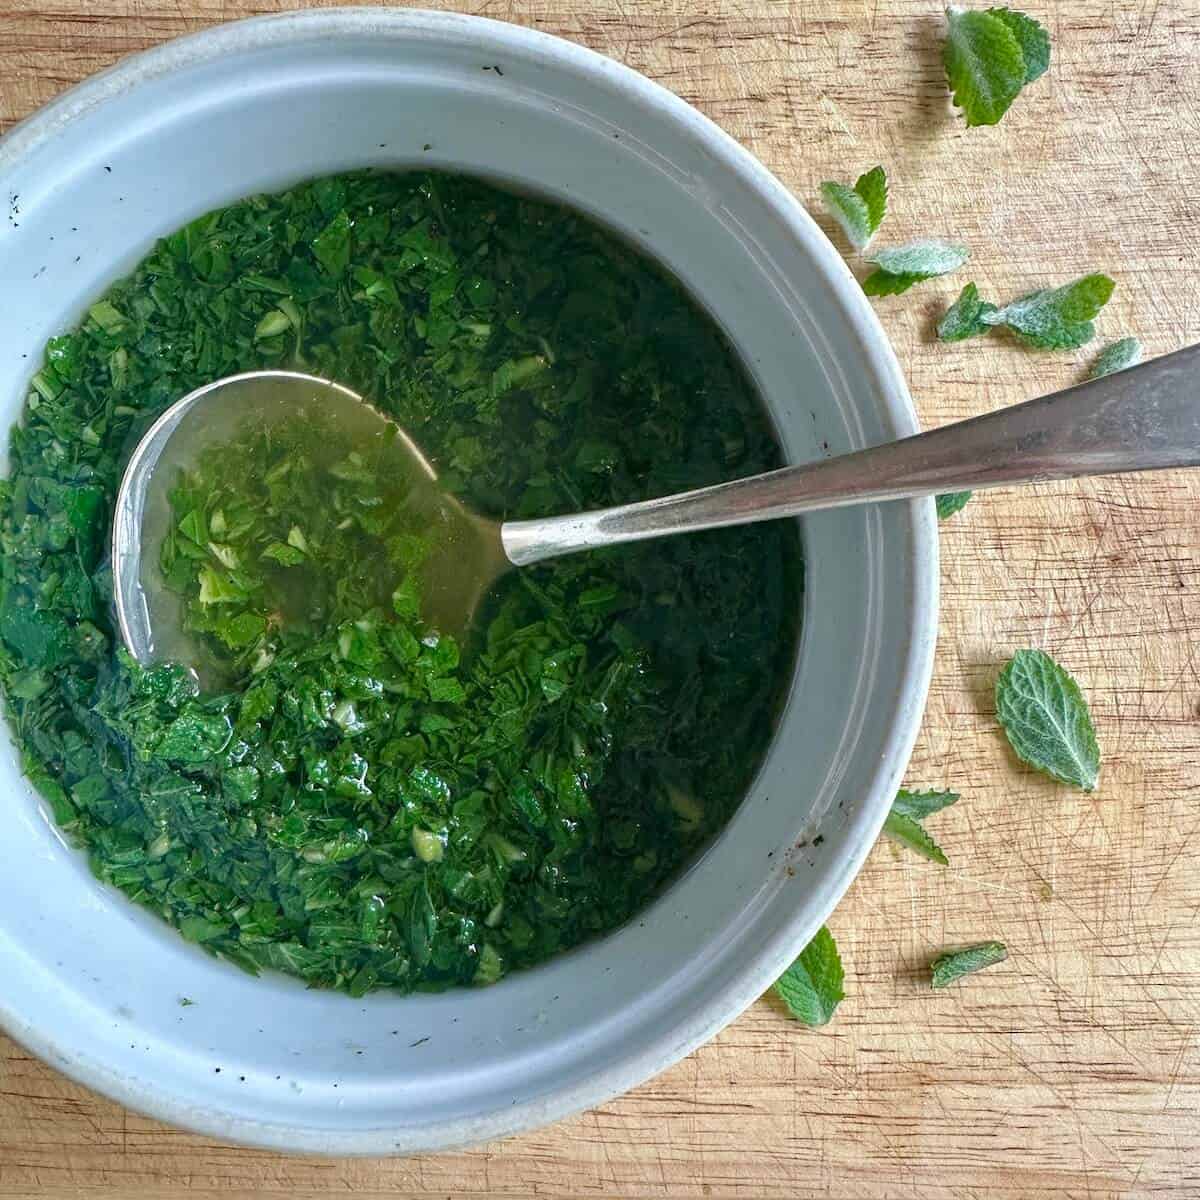
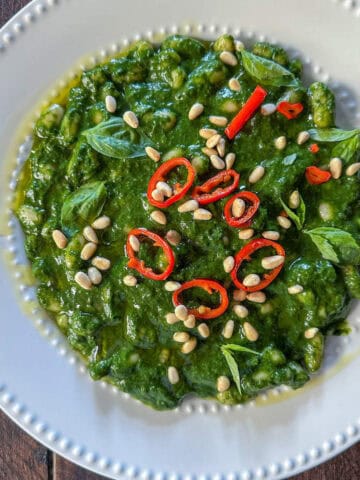
Top tip
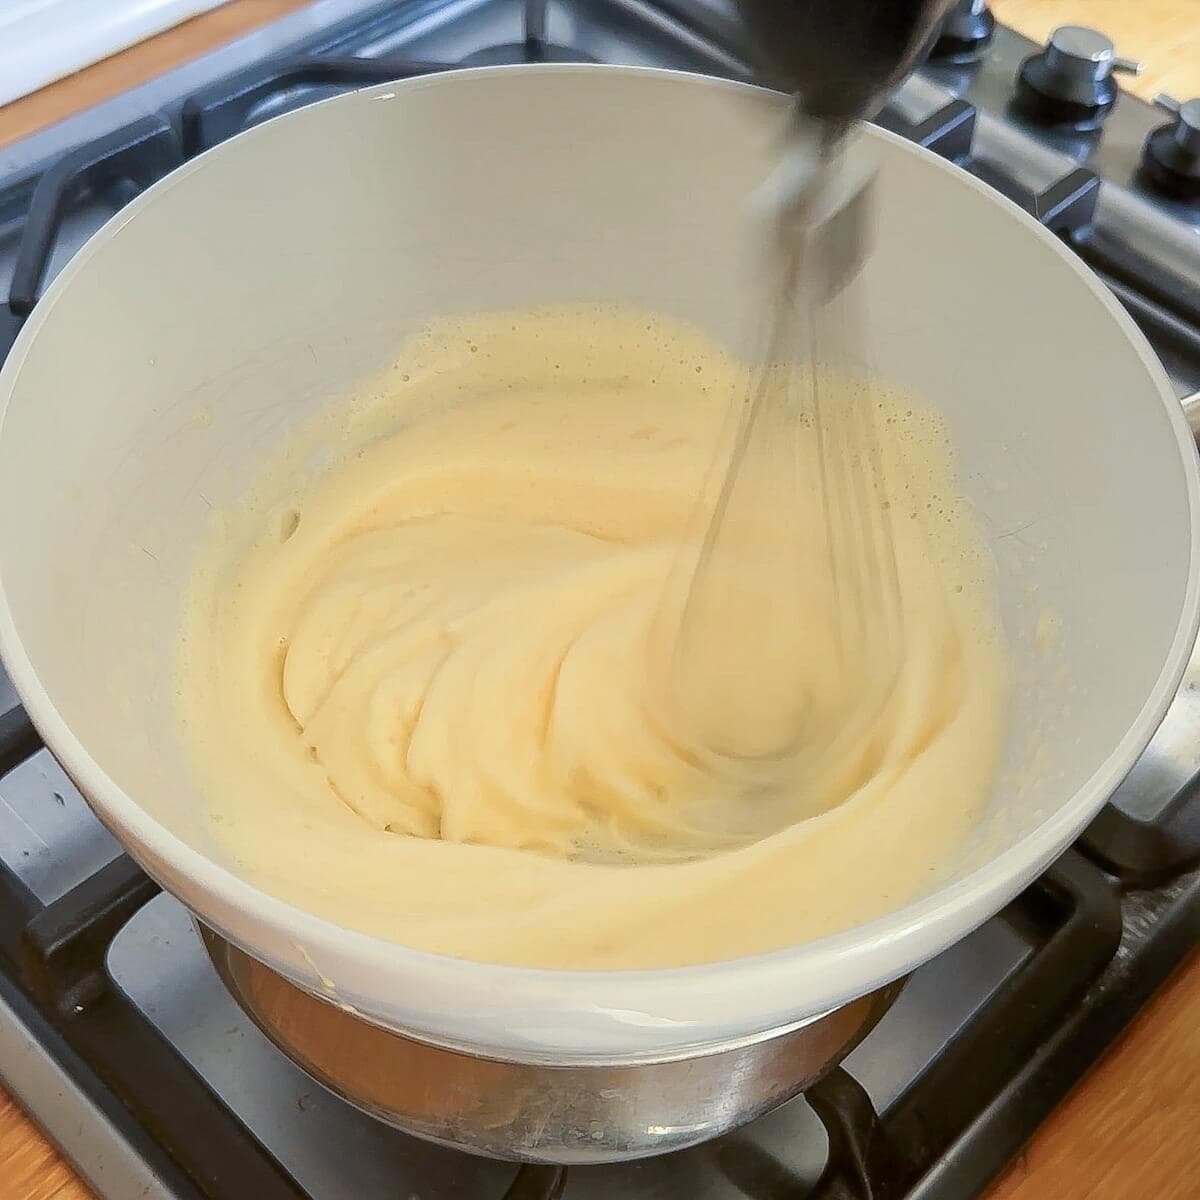
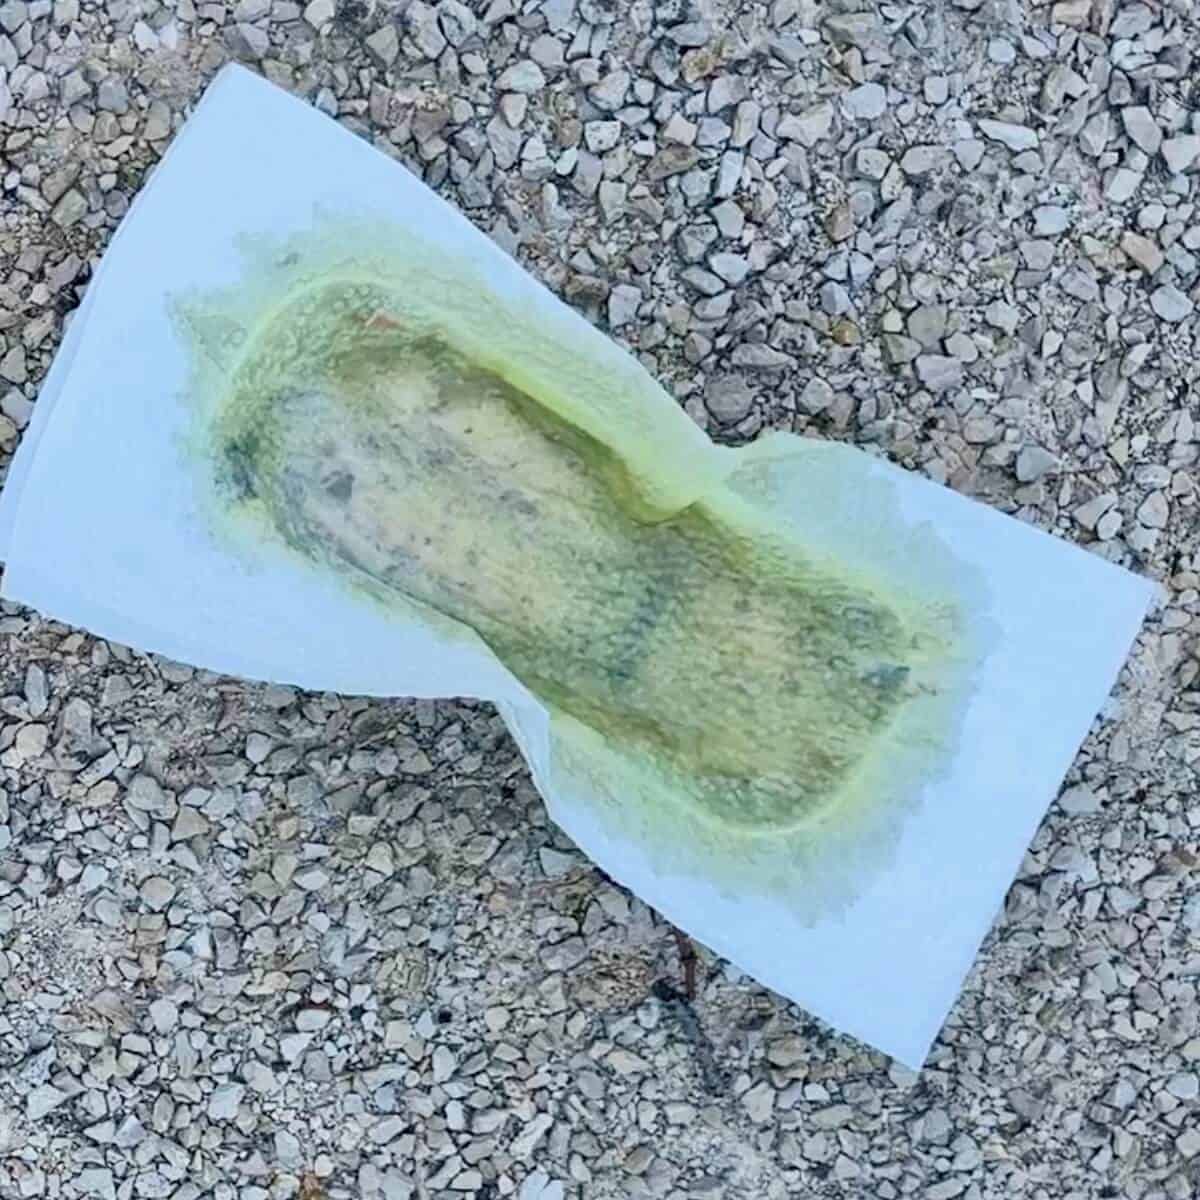
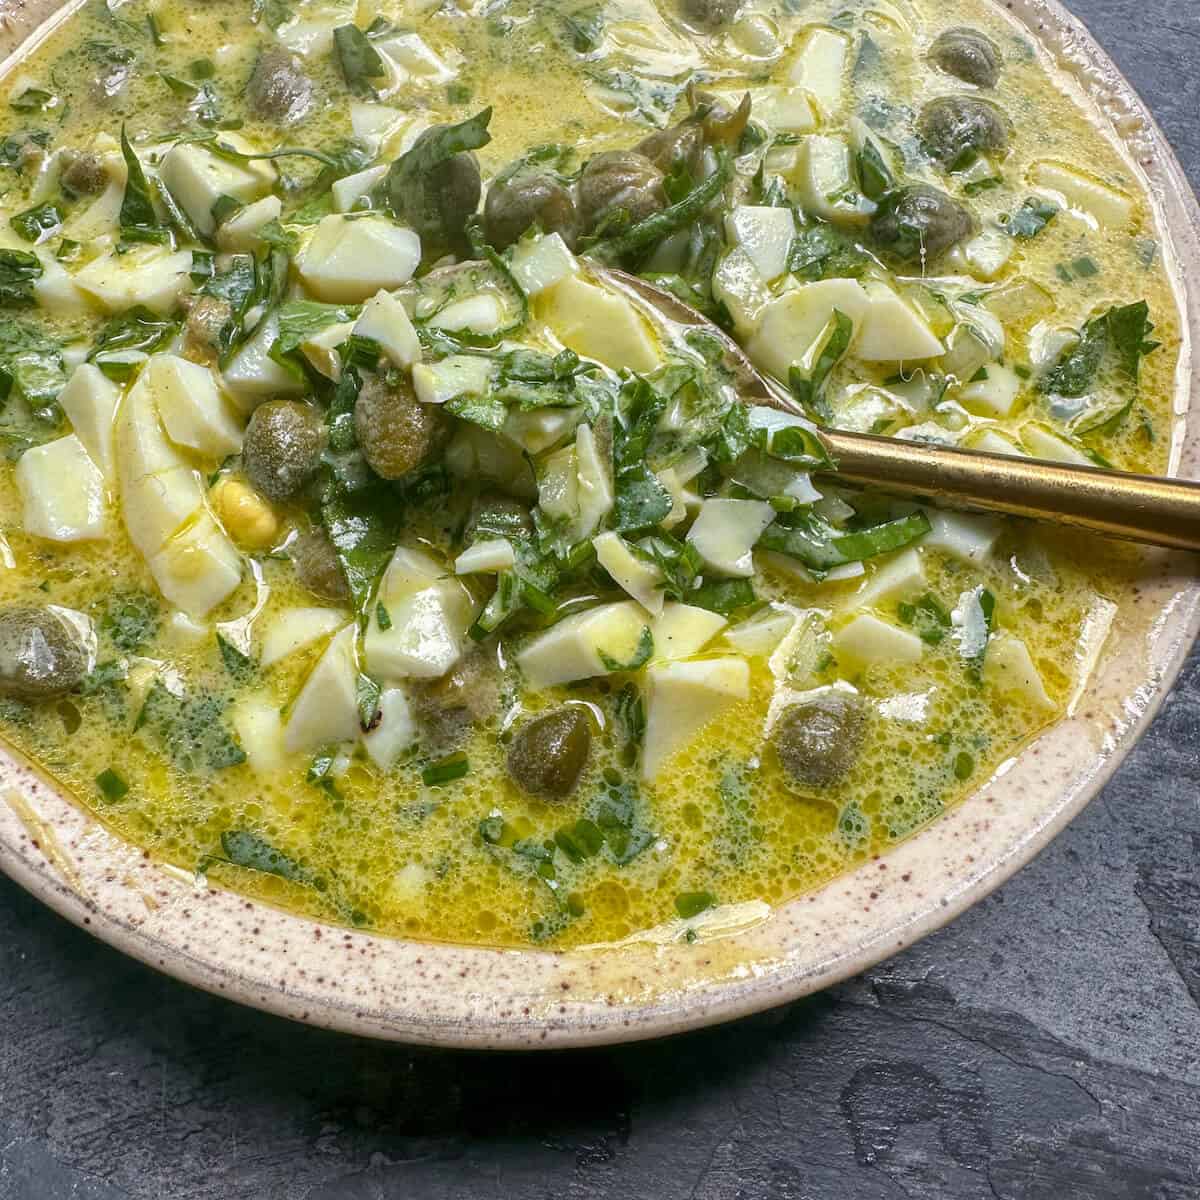
If the avocado basil vinaigrette seems too thick, add another tablespoon or two of water, but don't water it down too much as it needs some thickness to it to cling to the beans properly. This image shows the best consistency.
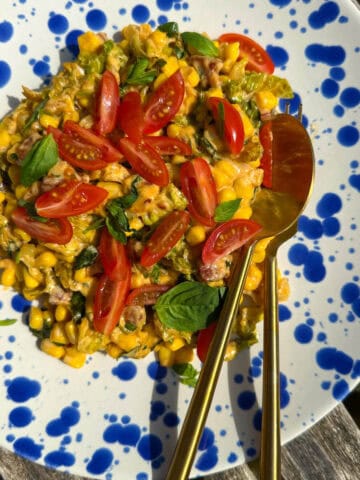
How to serve
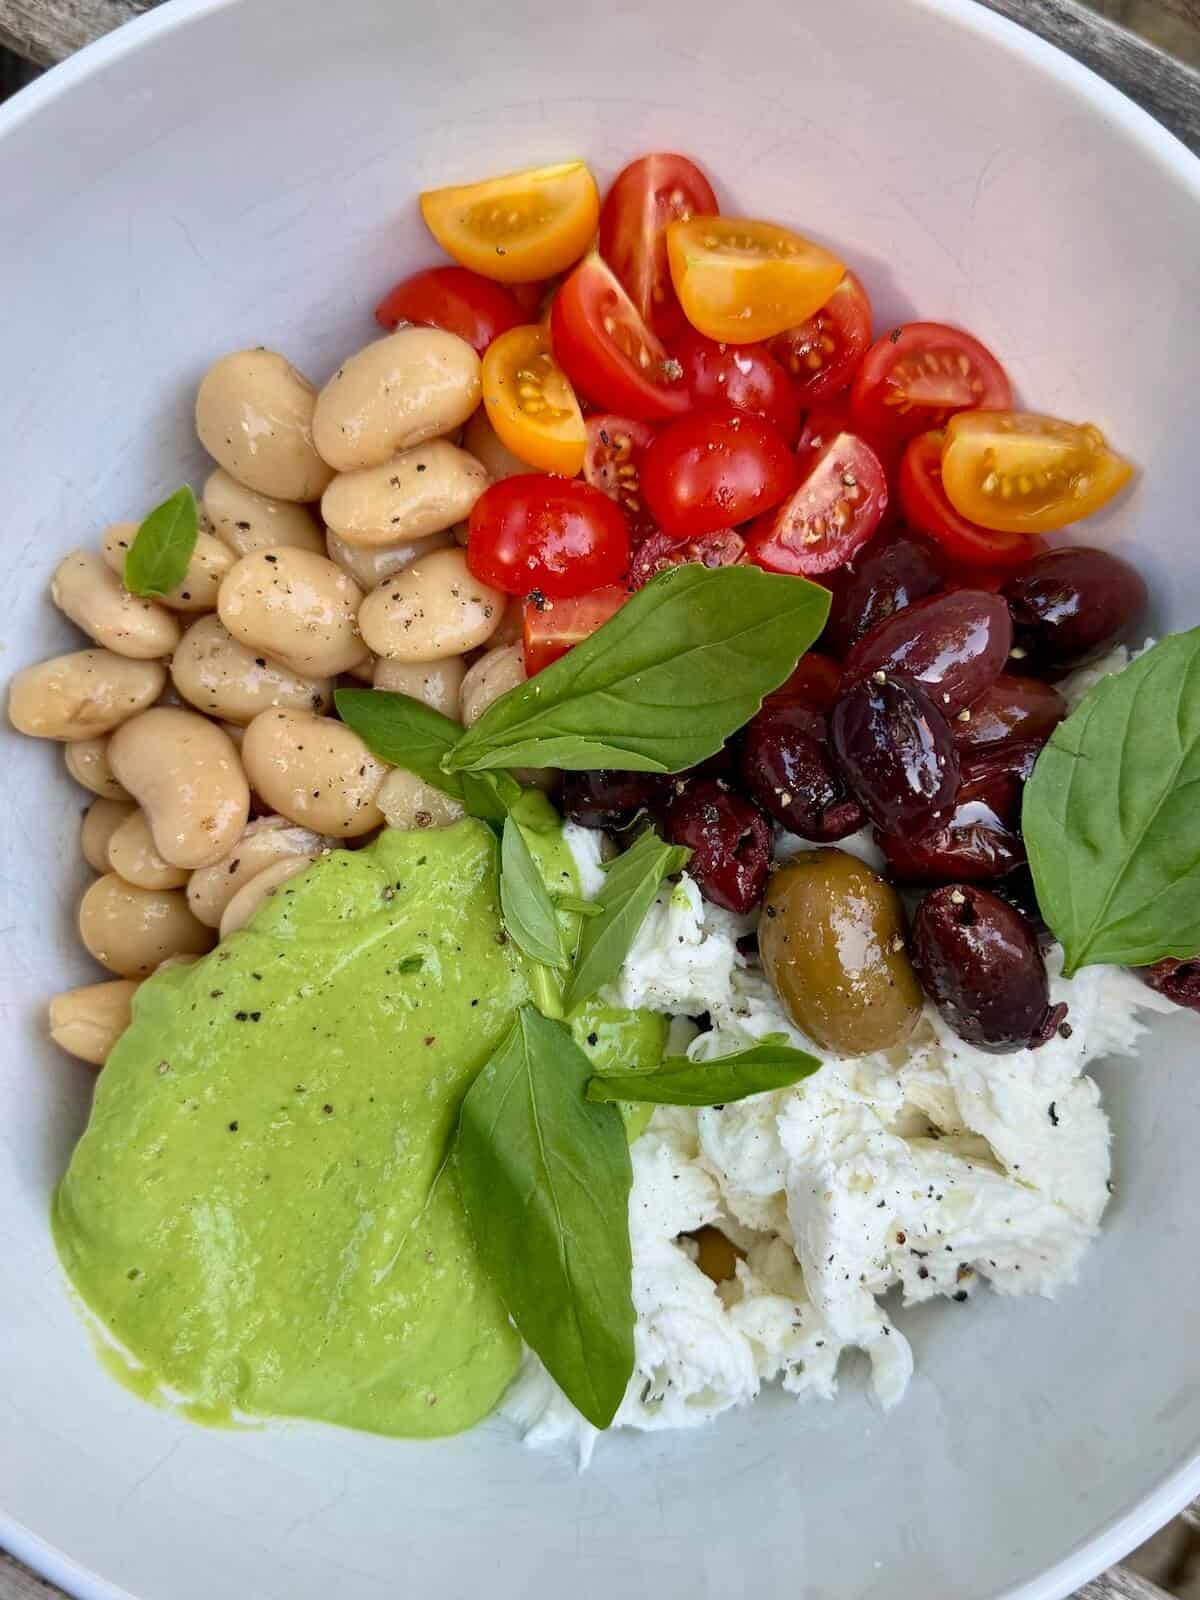
Slice the cherry tomatoes into halves and/or quarters, and either do the same with the olives or leave them whole . I buy pitted olives because it makes life so much easier, and I like to use a mixture of black olives and green olives. Tear the mozzarella into small pieces, I think it looks better than sliced and it gets the dressing all up in the nooks and crannies, too.
Drain the beans and then toss all the ingredients together and garnish with some extra basil leaves, salt and pepper. I sometimes add a drizzle of balsamic vinegar on top at the end, too.
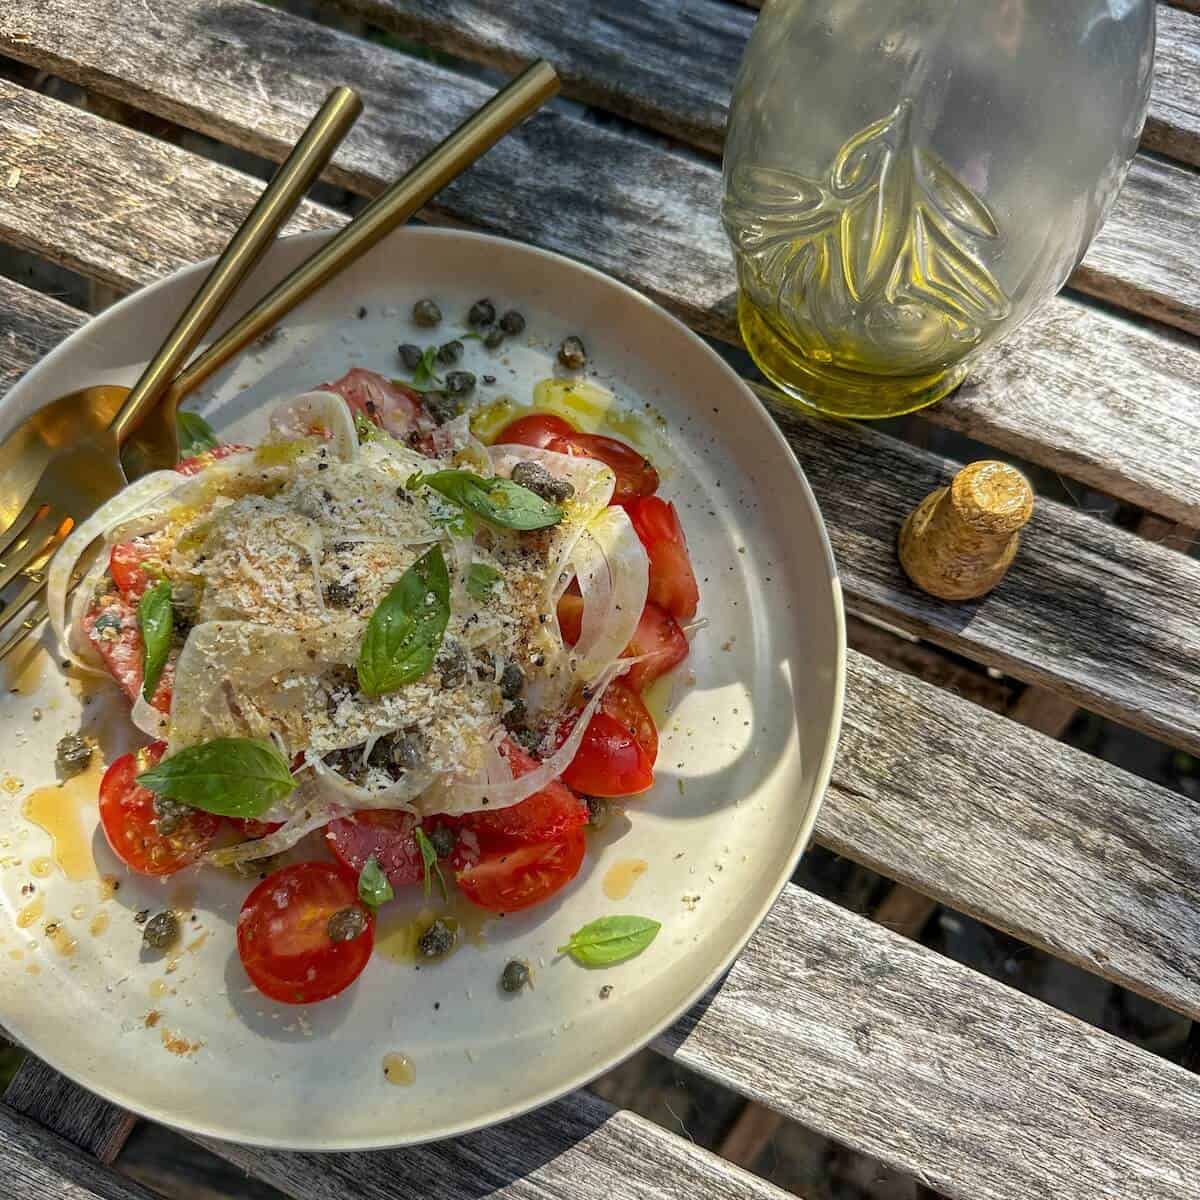
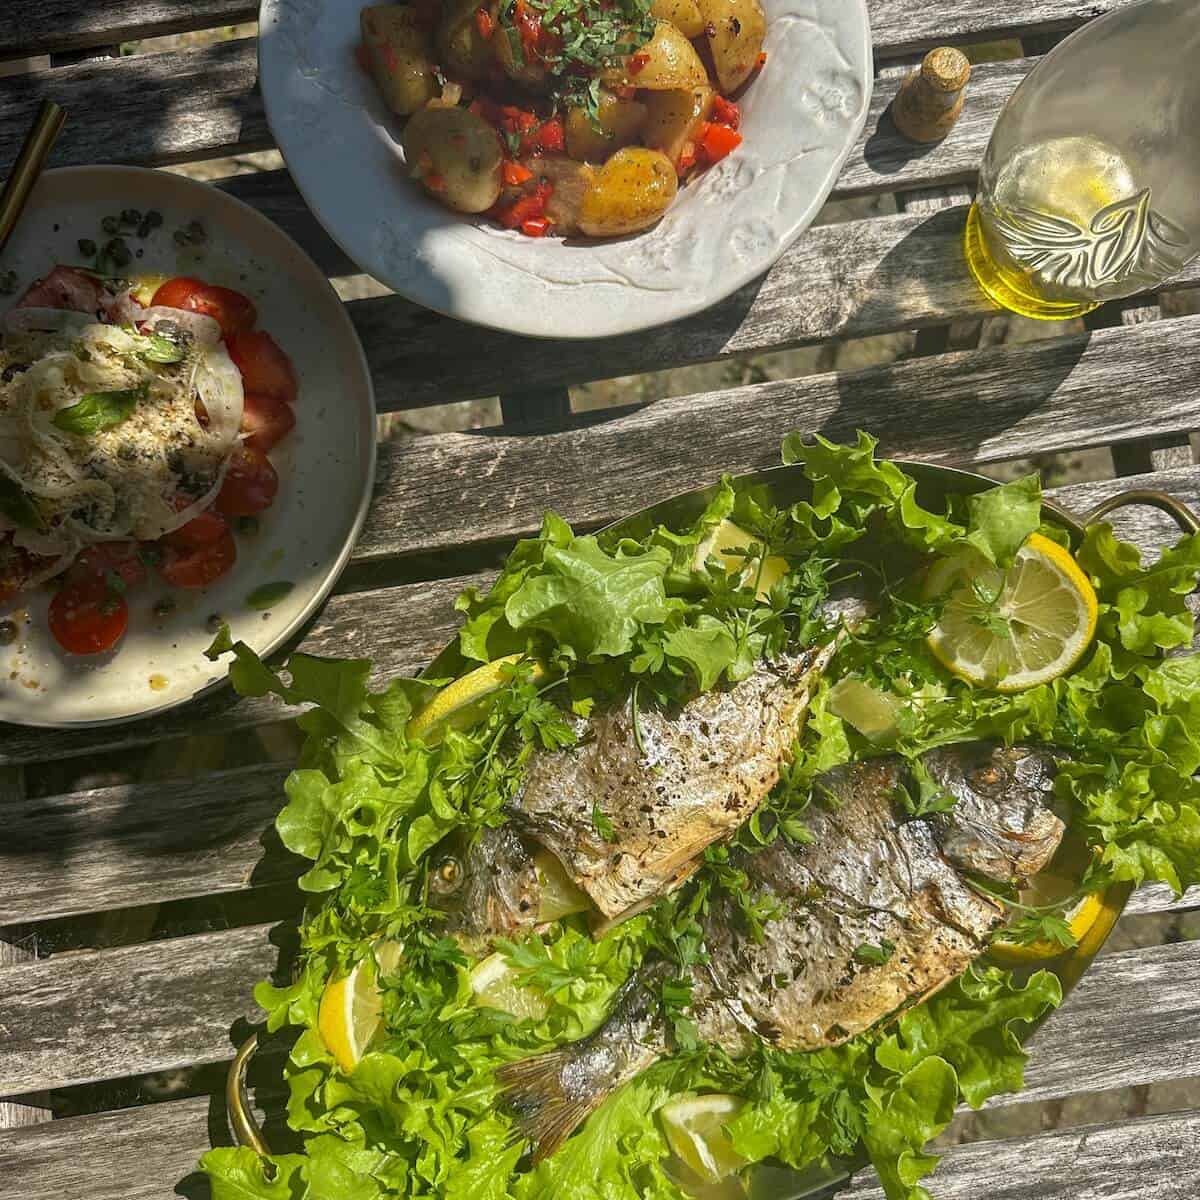
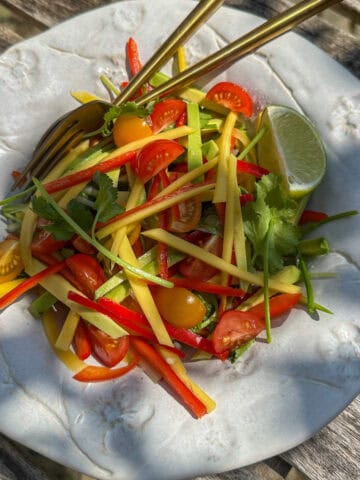
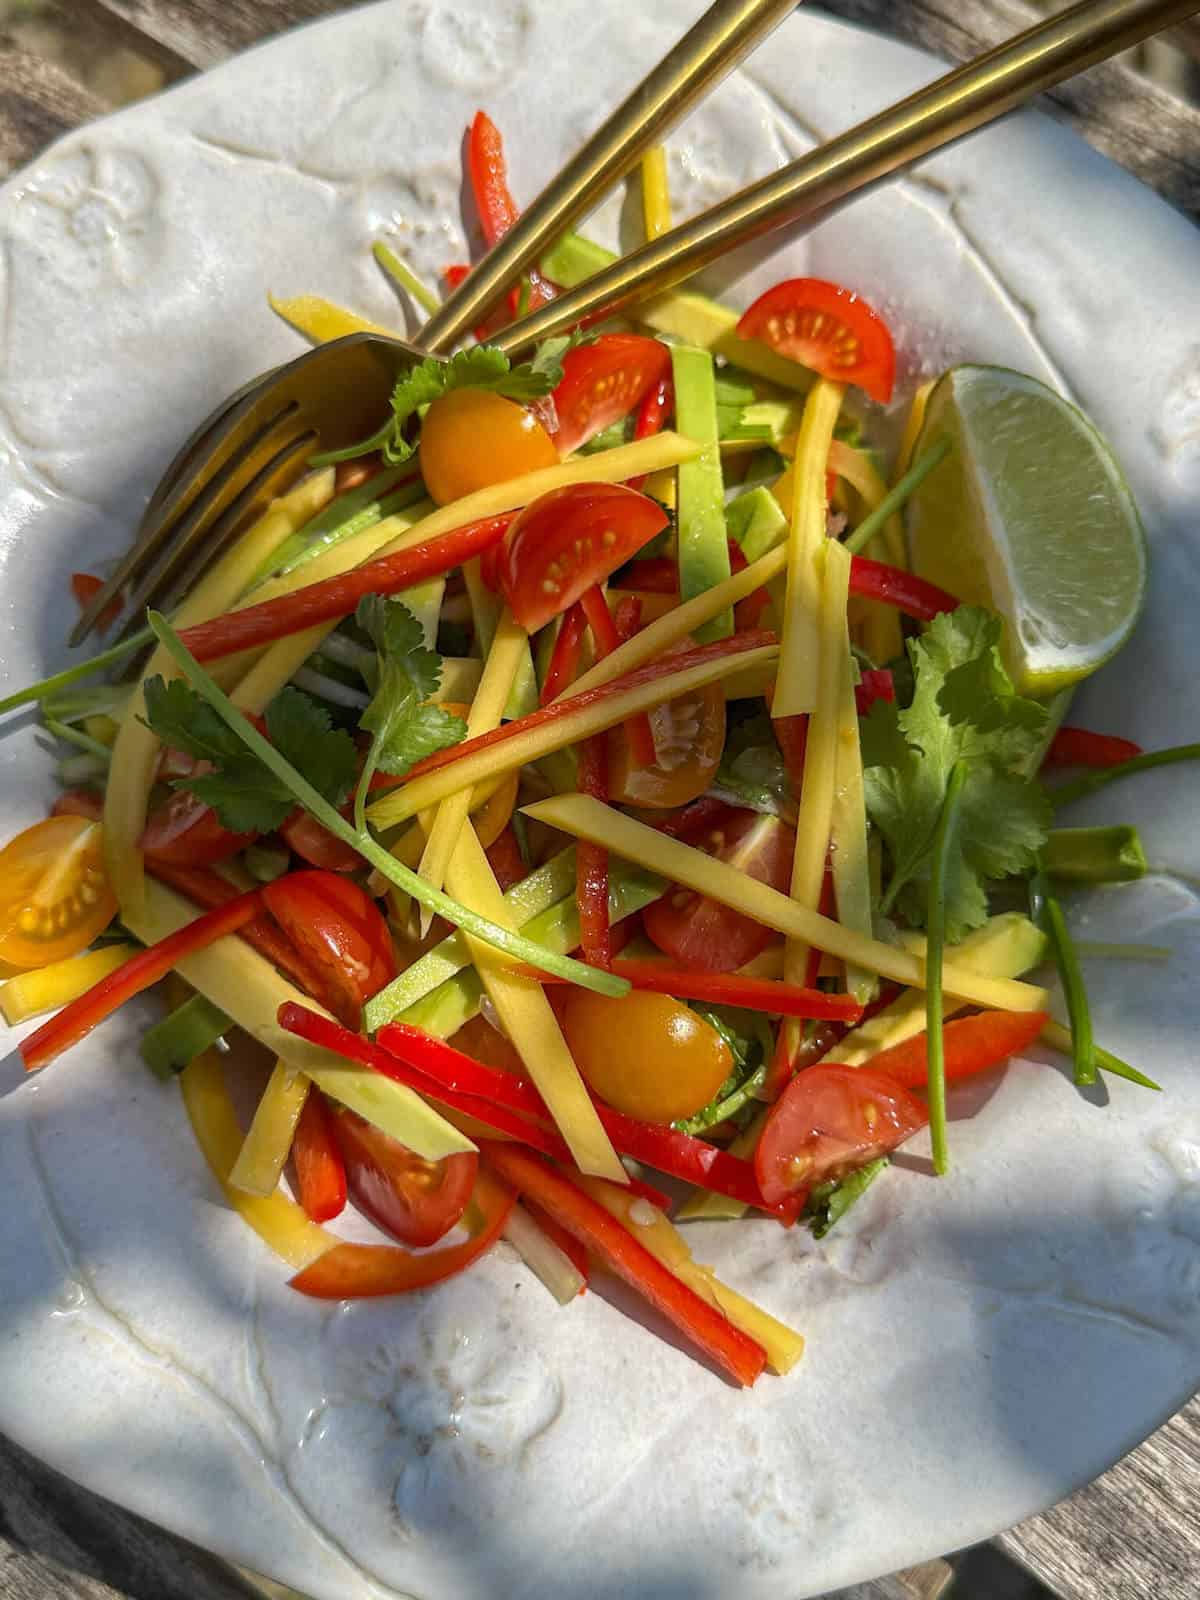
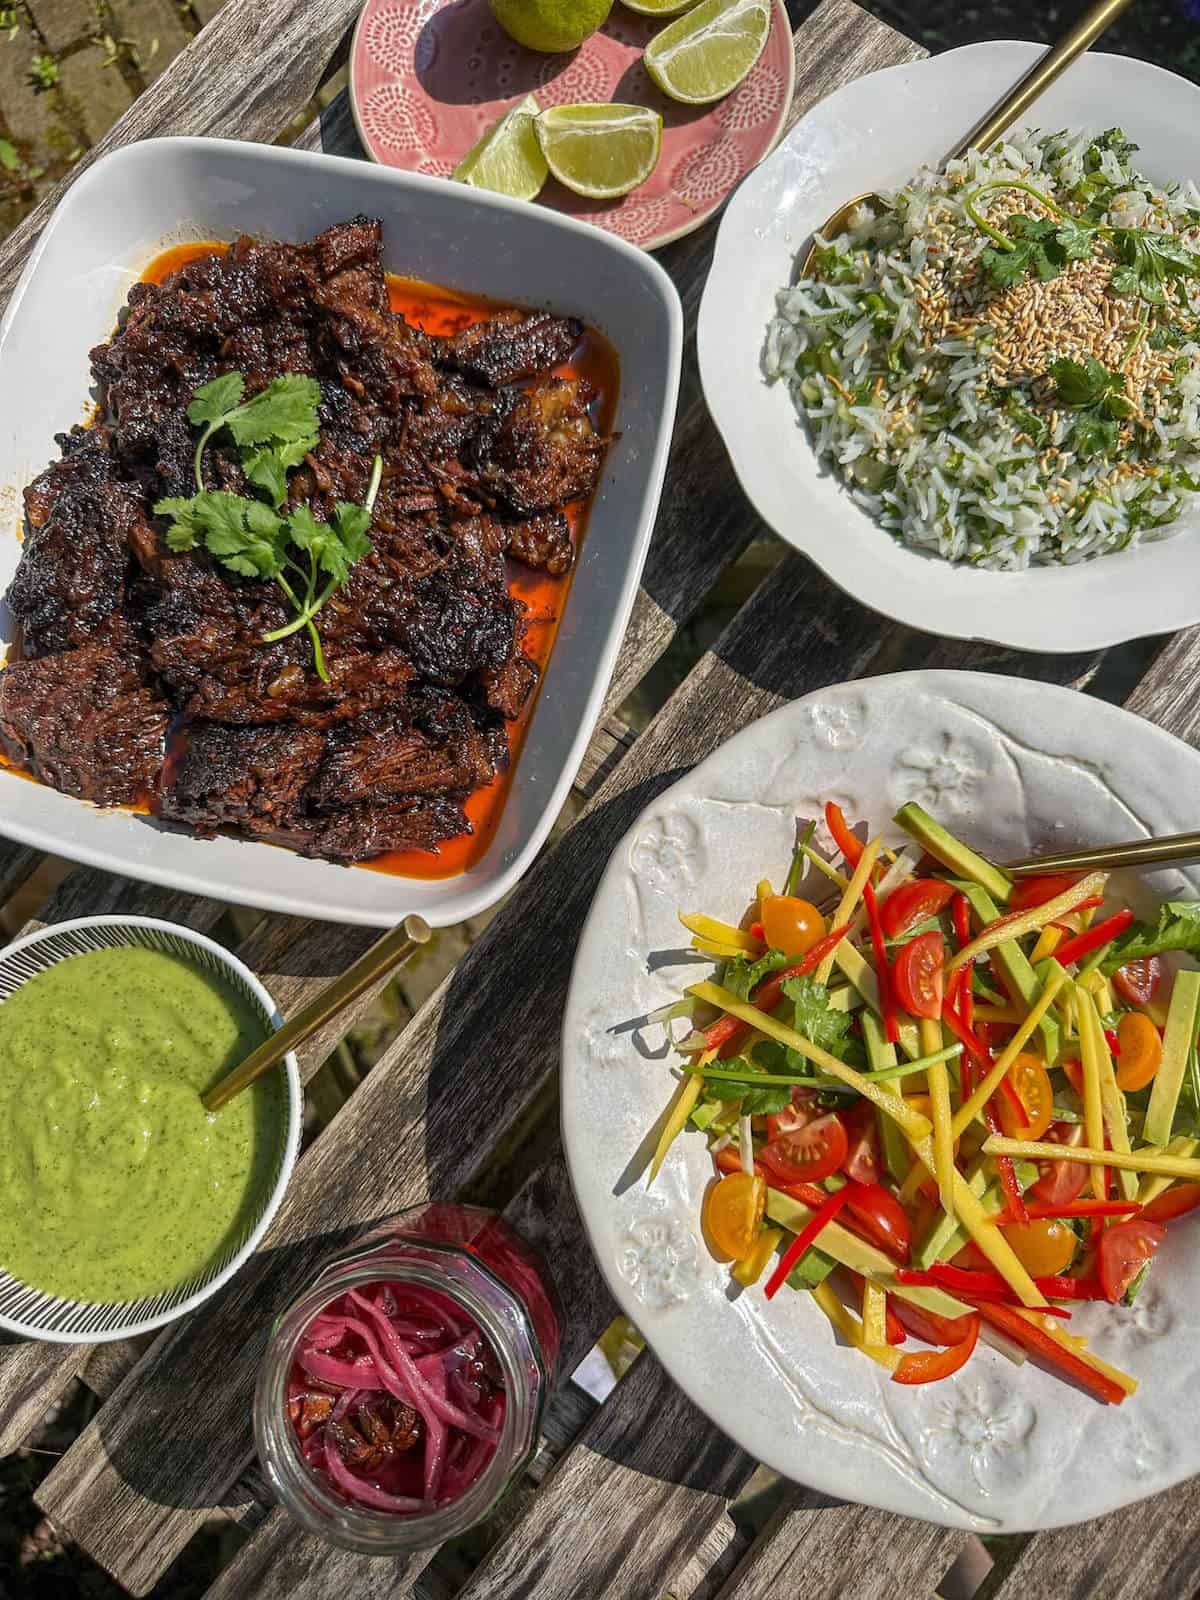
I'd serve this salad on it's own or as part of a lunch spread with other dishes including:
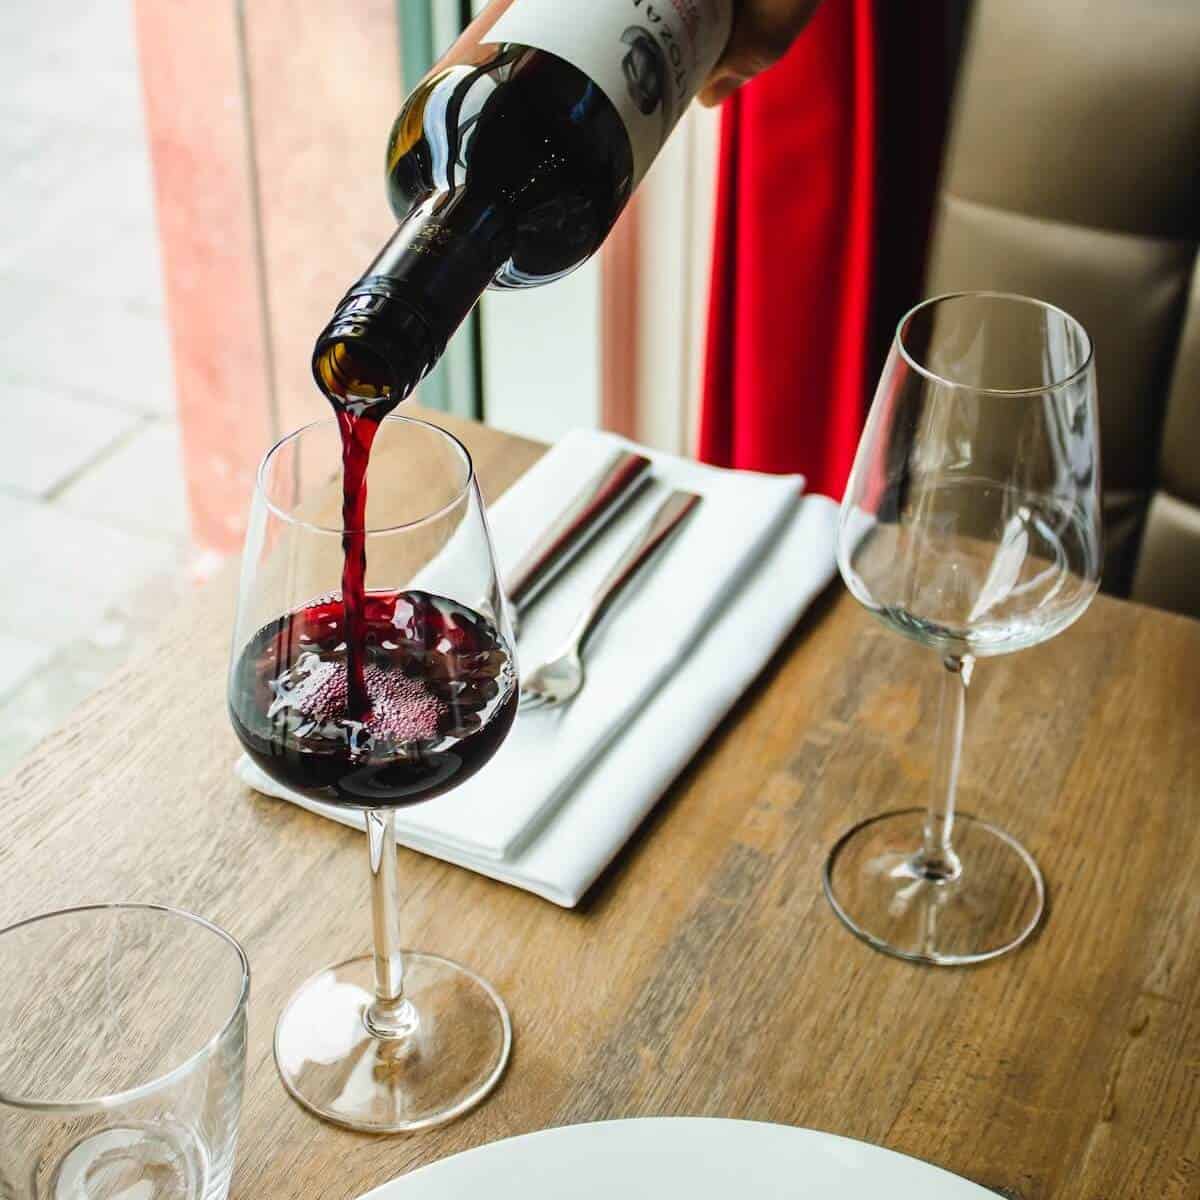
Wine Pairing
I would serve this butterbean caprese salad with a crisp Italian white wine like a Vermentino.

What if I have leftovers?
This Italian bean salad lasts well and will keep for 3-4 days in the fridge in an airtight container. It is best eaten at room temperature for the flavors to sing, so I'd take it out of the fridge ahead of time.
Can I freeze it?
Nope. Don't do that.
Equipment
I like to use a Nutribullet for salad dressings as it emulsifies things really well and is powerful enough to blend cloves of garlic without leaving chunks of it to surprise you.
🙏🏻 If you try this recipe...
If you make this recipe, I'd love to hear how it went! Please leave a 5-star ⭐️⭐️⭐️⭐️⭐️ rating on the recipe card and consider leaving a comment as well. Your feedback helps other readers and is greatly appreciated.
Recipe

Butterbean Caprese Salad With Avocado Basil Vinaigrette
Equipment
- Blender/Nutribullet
Ingredients
Basil Avocado Dressing
- 1 avocado
- 2 big handfuls basil leaves
- 2 garlic cloves
- 1 lemon (juice and zest)
- 6 tablespoon apple cider vinegar or white wine vinegar
- 4 tbsp extra virgin olive oil
- 6 tablespoon water adjust for consistency
- salt and cracked black pepper
Butterbean caprese salad
- 550 grams butterbeans / lima beans approx 2 tins, drained
- 250 grams mozzarella 2 balls
- 250 grams cherry tomatoes
- 100 grams mixed pitted olives
- 1 tbsp balsamic vinegar optional, to garnish
Instructions
Basil avocado vinaigrette dressing
- Remove the basil stems and any wilted or black leaves and add to a blender with the garlic, lemon juice and zest, vinegar, olive oil, water, and avocado.
- Blend until smooth, then season with salt and pepper and add more water if needed to adjust consistency. Do not make it too thin and watery, as it needs to be quite thick to cling to the beans and other ingredients.
Butterbean caprese salad
- Halve and quarter the cherry tomatoes and tear the mozzarella into small pieces.
- Add the drained butterbeans to a salad bowl with the tomatoes, mozzarella, olives and basil avocado dressing and toss to combine.
- Garnish with more basil leaves, salt and cracked black pepper and a drizzle of balsamic vinegar or balsamic glaze if preferred.